Workflow Basics
- Home
- Getting Started
- Workflow Basics
This page describes the basics of how animation is created in Cascadeur.
1. Prepare the Scene
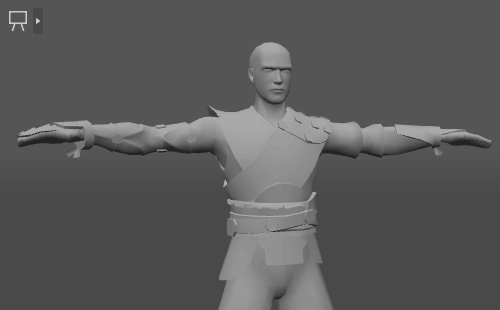
First of all, you'll need a scene with a character in it.
Cascadeur comes with a number of ready-made scenes.
These scenes can be found through the Splash Window (see the Projects section).
If you, however, would prefer to use your own character, you'll first need to Import said character into the scene.
Once the character is in the scene, you'll have to Rig them so you could then create animations.
2. Set Poses
Animation in Cascadeur is made up of poses.
There are several ways to create poses in Cascadeur. The most simple and intuitive is using AutoPosing:
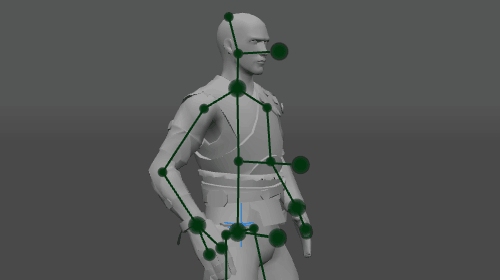
In this mode, you only have to move one or two controllers, - big green points on the character - and the rest of the body would move on its own, creating a realistic pose.
Usually, AutoPosing mode is enabled by default. But even if it isn't, you can always enable it manually, using the switch in the Viewport window:

There might, however, be times when you need more control over the pose then AutoPosing provides.
For cases like that, there are different edit modes.
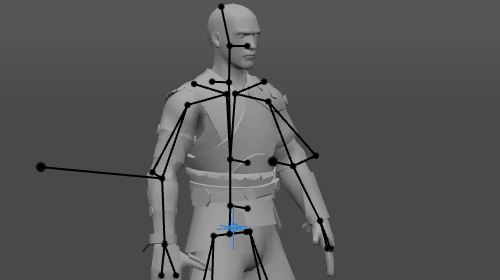
First in the Point Controller mode:

In this mode, you can use Point Controllers - small black points - to manually pose the character.
The process is far less automated, but allows for much more precise control:
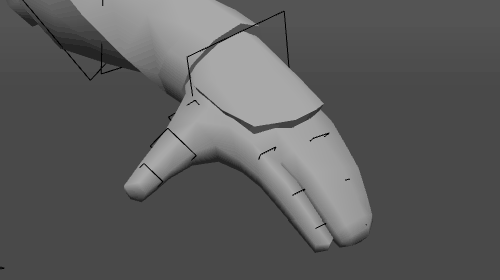
Another useful mode is the Box Controller mode:
This mode helps to adjust rotations and animate smaller details:
All of the above-mentioned controllers are adjusted using Manipulators.
3. Manage Keyframes
Poses are stored in Keyframes. To set up a pose, you first need to create a keyframe for it.
There are two ways to created keyframes.
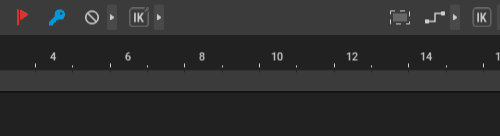
First, you can manually place keyframes on the Timeline:
Or you can enable the Set key on change option:
With it enabled, keyframes will be generated automatically when you change the character's pose.
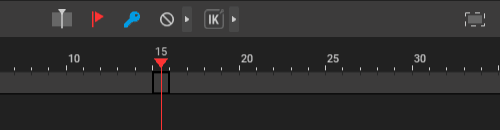
And if you need to delete a keyframe, select it and click the Add or remove key button on the Timeline (or press F):
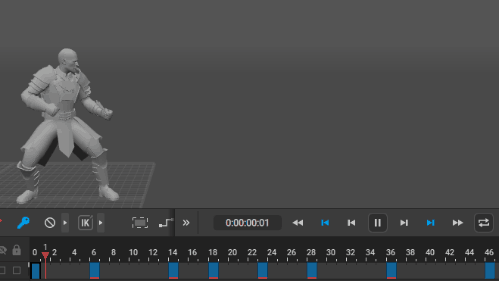
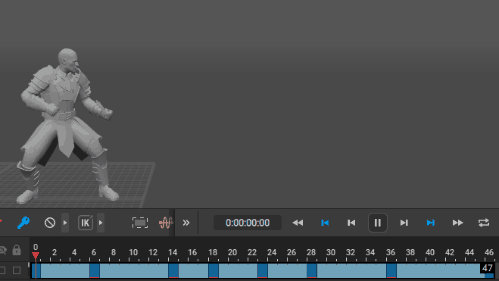
You don't need keys for each and every frame - you only have to set a pose for every crucial point of your animation, and you'll get something like this:
4. Add Interpolations
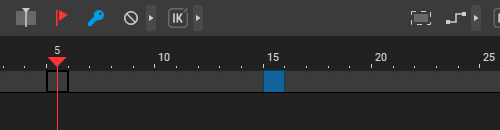
Transitions between these points can be added by creating interpolation intervals:
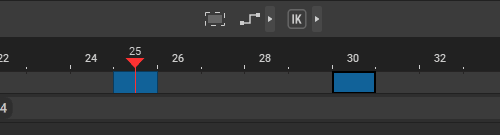
By adding interpolations you create a rough animation draft:
5. Further Improvement
This animation draft can be further improved by:
- Applying Physics Tools to make character movement physically accurate
- Polishing resulting animation using tool such as Filters and Trajectories
This short description isn't, of course, compendious by any means. The process of creating animation can be as complex as you want it to, and include all kinds of nuances.
Some of these nuances are covered in our Animation Guide.
Example