Interaction with Environment
- Home
- Tools
- Physics Tools
- Interaction with Environment
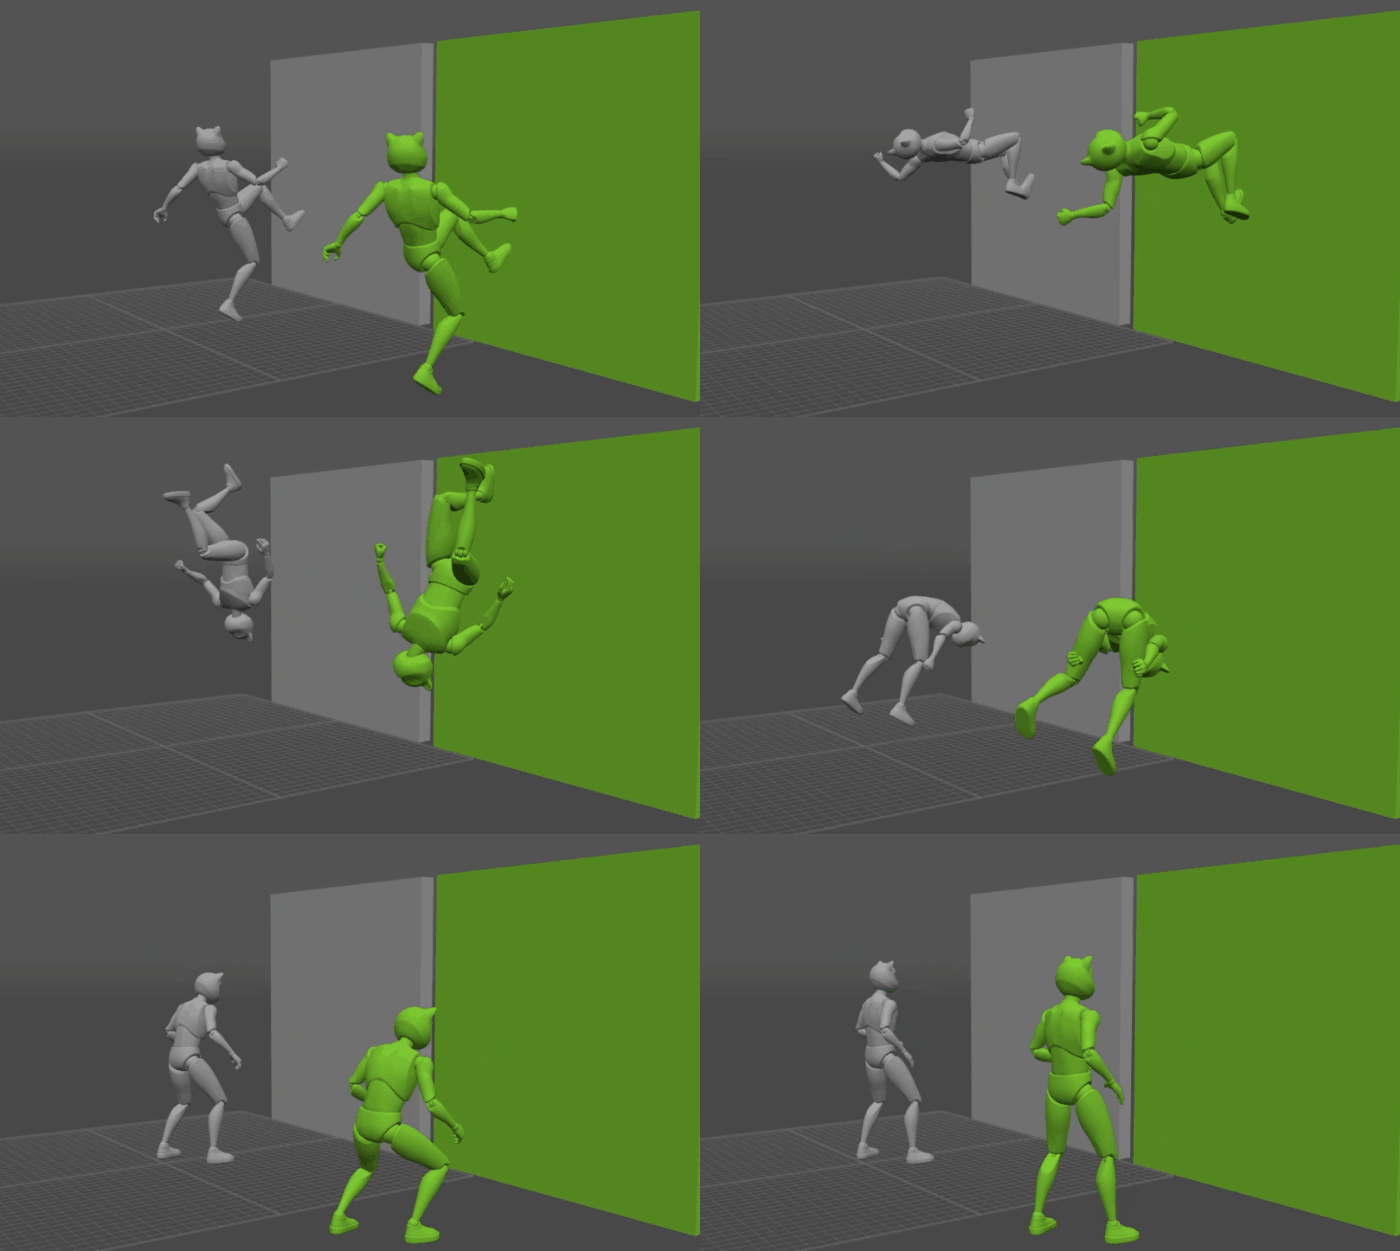
There might be times when you need your character to interact with physical objects in the scene.
The way to do this in Cascadeur is by assigning Collision Shapes to these objects.
Warning
Interaction with Environment is only available in the Pro and higher versions.
Interaction with Environment works with AutoPhysics.
If you need Ragdoll (whihc has some similar features), see the corresponding page.
Creating Collision Shapes
Rig Collisions
By default, all Rigid Bodies have a minimum of one Collider Shape added to them. You can delete the existing colliders by:
1. Switching to the Rigging view Mode:

2. Selecting the Rigid Body to which the collider is attached.
3. Using the Collision → Delete selected option in the Commands menu:
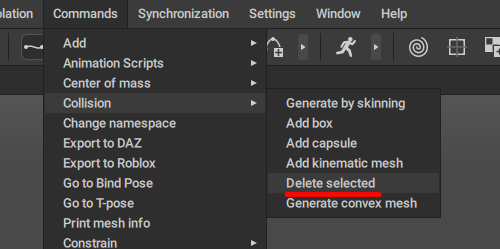
You can also add colliders to Rigid Bodies by:
1. Switching to the Rigging view Mode.
2. Selecting a Rigid Body.
3. Going to the Commands → Collision menu:
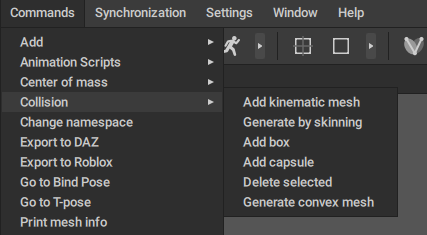
4. Selecting one of the commands there to create a collider.
The following collider types work with Rigid Bodies:
Box Collider.
Capsule Collider.
Skinned Mesh Collider.
In most cases, default colliders work fine, so this should be done only if you use custom character models or add some kind of props to the existing characters.
Environment Collisions
For the characters to be able to interact with environment objects, said objects should have their own Collision Shapes attached to them.
To create a collider for a mesh:
1. Select the mesh (using the Mesh Mode, or the Outliner).
2. Go to the Commands → Collision menu:

3. Select one of the options to create a collider.
The following collider types can be attached to Meshes:
Box Collider.
Capsule Collider.
Kinematic Mesh.
Convex Mesh.
You can also attach several colliders to one object to better represent the object’s shape. This might require adjusting colliders’ sizes and positions; to learn about that, see the Adjusting Collider section of the Collision Shapes page.
Once a Mesh has a collider, it will appear in the Physics Assistant:
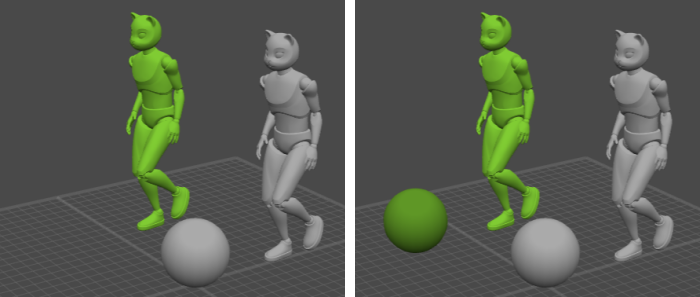
This means that the algorithm now takes it into account.
Removing Collision Shapes
If you want to remove an object from the simulation, you only need to delete the colliders associated with it.
To do this:
1. Select the object.
2. Go to the Commands menu.
3. Select Collision → Delete selected option.
This will remove all colliders that are attached to the object.
Collision Shape Settings
Each type of collider has its own set of settings that can be used to adjust its position, size etc.
These settings are described on the Collision Shapes page, under the Adjusting Colliders section.