Windows
- Home
- Installation
- Windows
This page provides instructions for installing Cascadeur on Windows operating systems. It is recommended to make sure that your system meets System Requirements before installation.
Cascadeur installer for Windows supports the following flags:
- /USER_MODE=(all | current) - all is for all users, current is for the current user
- /DIR="Path to install"
To install the software:
1. Run the installer
2. A Setup window will appear:
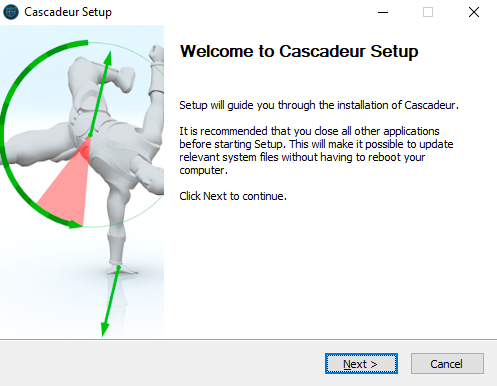
3. In this window, click Next to begin the installation
4. In the next window, choose which users should the program be installed for.
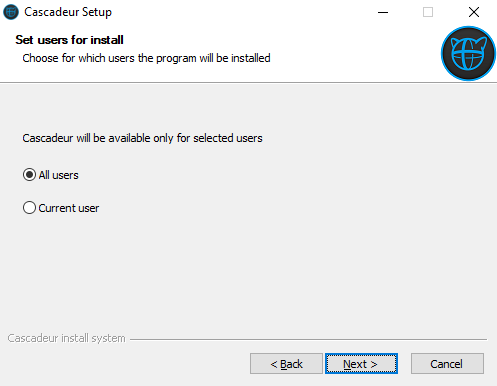
- All users means the software will be available for every account on your computer. You need an admin account to install Cascadeur for all users.
By default, the software is installed to the Program Files folder. - Current user means the software will only be available for the account you are currently using.
By default, the software will be installed to the folder containing the setup file.
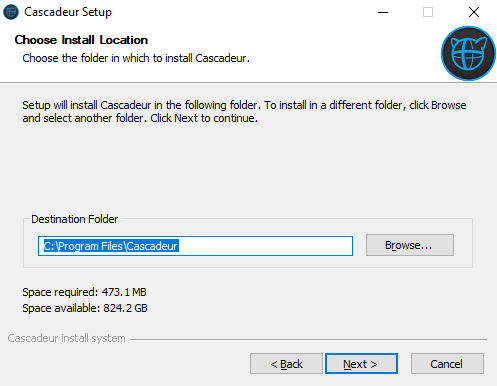
5. Choose the install path and click Next to proceed:
6. Specify the Start menu folder:
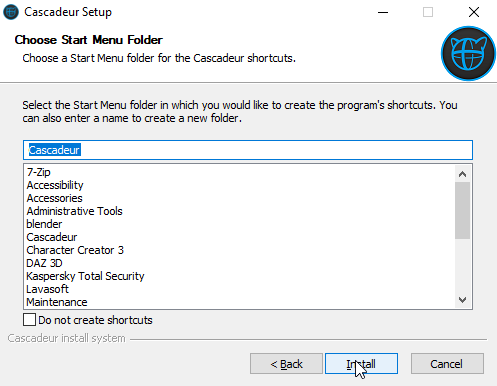
If you don’t want to create a menu folder, turn on Do not create shortcuts.
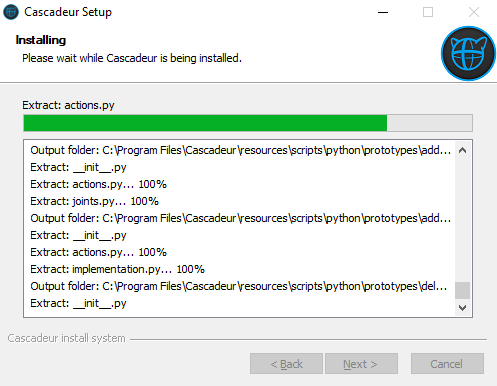
7. Click Install to begin the installation process
8. Wait until the process is finished
9. After Cascadeur is installed, Microsoft Visual C++ Redistributable 2015 will be installed as well (unless you don’t have this or later version already installed).
Installing it can take a few moments. Please do not cancel the installation during this time.

10. Once the process is finished, the final window will appear:

11. Disable the Create Desktop Shortcut option if you don’t want to create a desktop shortcut for Cascadeur.
12. Disable Run Cascadeur if you don't want to launch the program immediately.
13. Click Finish to complete the setup.
Now, the software is installed and ready for the first launch.
See Also