Trajectories
- Home
- Tools
- Animation Tools
- Trajectories
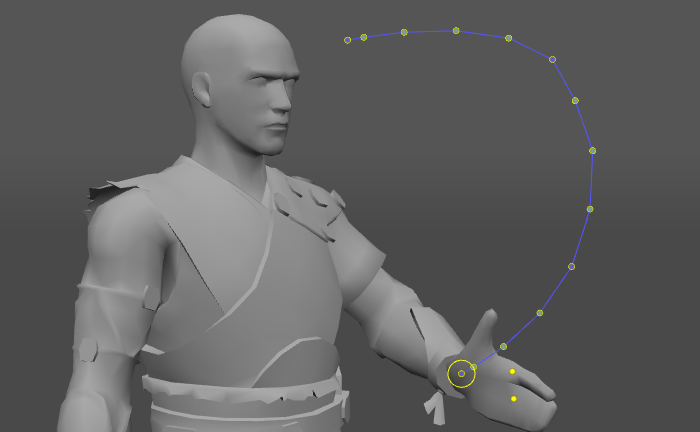
A trajectory is a line that shows the path traveled by a selected object across a selected interval
To make a trajectory visible, select an object in the Viewport and an interval on the Timeline.
Trajectory Rendering Modes
Tools for switching Trajectory rendering modes can be found on the Toolbar:
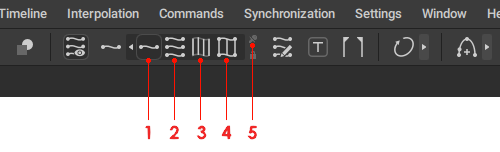
1. Parent trajectories
If you select a group object, trajectory will be rendered only for the highest one in the object hierarchy.
2. All trajectories
If you want to show trajectories for every selected Point Controller or object, choose this option.
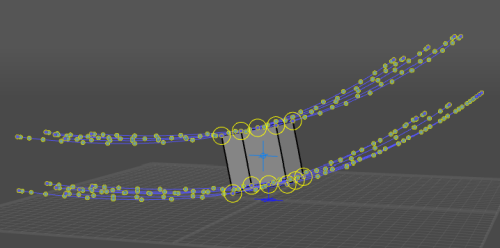
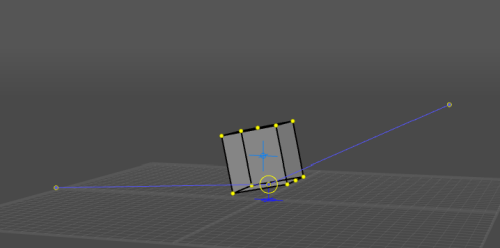
3. Edges trajectories

If this option is enabled, trajectories will show the positions of Edges connecting selected point controllers.
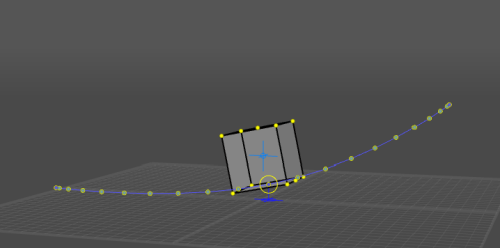
4. Edges and trajectories fixed
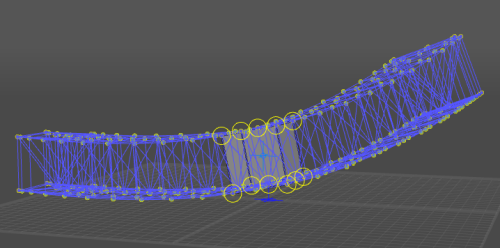
This mode shows positions on the selected point controllers and edges that connect them
Point controllers are shown as green points. In the current frame, they are marked with yellow circles
5. Using only key frames
In this mode, you will see trajectories of the selected point controllers in the keyframes.
Relative to Pivot
Any trajectory can also be viewed in the Relative to pivot mode. In this mode, it would show how the selected Point Controller(s) moves in relation to another Point which has been designated as a pivot.
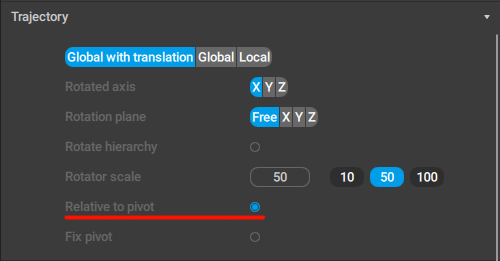
To enable Relative to pivot mode:
1. Select one of the character’s Point Controllers.
2. Enable the Relative to pivot option on the Trajectory tab of the Scene settings panel:
The trajectory should disappear.
This happens because currently, the selected Point Controller also acts as a pivot for itself.
To view the trajectory, you'll need to set a separate pivot:
3. Click another Point Controller with the Right Mouse Button.
This Point will act as a pivot. Now, the trajectory for the Point you’ve selected before should be shown in relation to this second Point.
The same trajectory in relation to different Point Controllers.
You can also enable the Fix pivot option on the same Trajectory tab. This will fix the pivot point for the trajectory, meaning the trajectory won’t change when you right-click some other point.
Trajectory Edit Mode

When this mode is enabled, you can move, rotate and otherwise adjust any point of a trajectory by applying standard Manipulators.
Warning
Trajectory Edit mode works correctly only with the objects that store Position and Rotation transforms.
This means that the AutoPosing controllers will render neither the position nor rotation trajectories and the Point controllers will render only the position trajectories.
To edit a trajectory:
1. Select a Point Controller (or several controllers)
2. Select an interval on the Timeline.
Changes you’ll be making are going to be applied to this interval
3. (optional) Turn on the Set trajectory interval switch.
This way, the trajectory won’t disappear when you deselect frames on the Timeline.
4. Enable Trajectory Edit Mode button on the Toolbar.
5. The point on the trajectory should look like this:
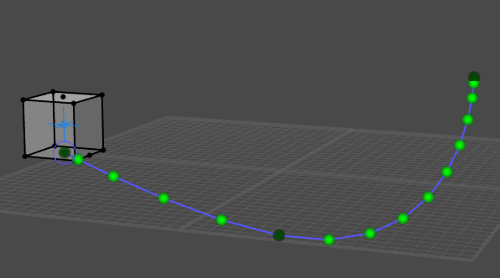
Darker green points on the trajectory represent keyframes.
Meanwhile brighter points represent interpolation (i.e. regular) frames.
6. Now you can select these points and apply manipulators to them:
Note
Moving interpolation frames changes interpolation on the corresponding interval to Fixed.
Once you finish editing trajectories, you can disable the mode by turning off the Trajectory Edit Mode button.
You can also edit the trajectory by utilizing the Trajectory Tangents.
Set Trajectory Interval

This button fixes the trajectories on the selected interval.
When this mode is enabled, trajectories for the selected objects are always rendered on the interval you've set, even if you select another interval.
To remove fixing, simply disable the button.