Export to Unreal Engine
- Home
- Getting Started
- Export FBX/DAE
- Export to Unreal Engine
Animations for UE Mannequin
Animations created in Cascadeur can be imported to an Unreal Engine project and attached to a skeleton there.
Note
If you are using the default Epic Skeleton in your project, we recommend using UE5 Manny or UE5 Quinn file for creating animations in Cascadeur. Other models included in the package have significantly different skeletons, which might lead to compatibility issues.
1. Right-click the Content Browser window

2. Select Import to... from the menu

3. Select the file containing your model
The file should be in binary FBX format. See here about formats
4. The FBX Import Options window will appear:

5. Set Skeleton to SK_Mannequin:

6. Make sure that the Import Only Animations option is enabled:

7. Click the Import button

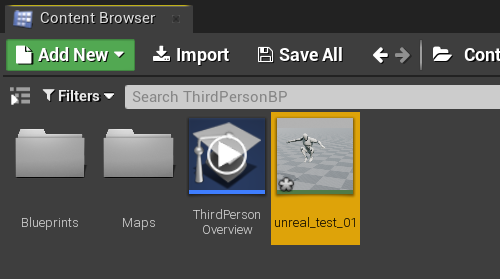
9. An Animation asset should be created:

Import Cascadeur Characters
To use custom characters, you need to first import the character model and then animations for it.
Import Model
1. Right-click the Content Browser window:
2. Select Import to... from the menu:
3. Select the file containing your model
The file should be in binary FBX format. See here about formats
4. The FBX Import Options window will appear:
5. Set Skeleton to None:

6. Disable Import Only Animations:

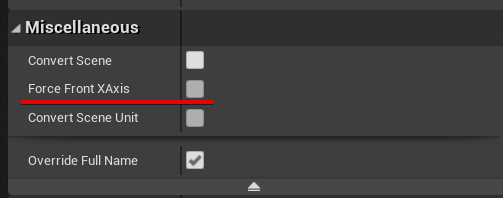
7. Disable Force Front XAxis:

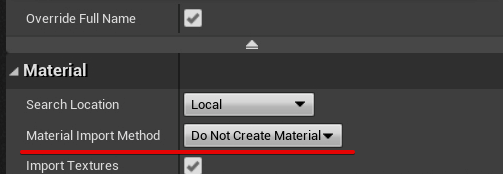
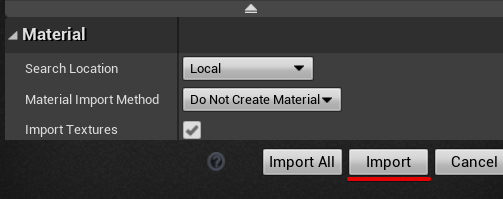
8. Set Material Import Method to Do Not Create Material (unless you want the material to be imported with the model):
9. Disable the Import Animations option:

10. Click the Import button:
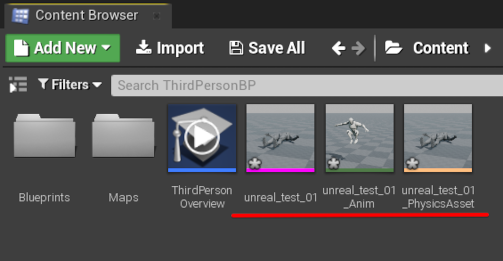
After importing, several assets should be created:
- a Mesh asset (contains imported model)
- a Physics Asset
- (optional) a Material asset (if you decided to import it)
Import Animation
1. Right-click the Content Browser window:
2. Select Import to... from the menu:
3. Select the file containing your model
The file should be in binary FBX format. See here about formats
4. The FBX Import Options window will appear:
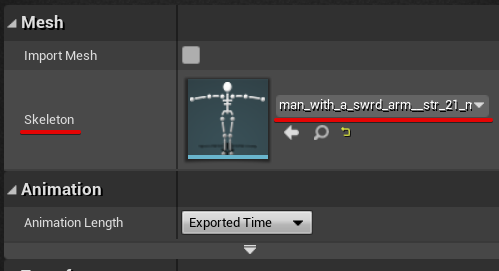
5. In the Skeleton window, select your custom skeleton:
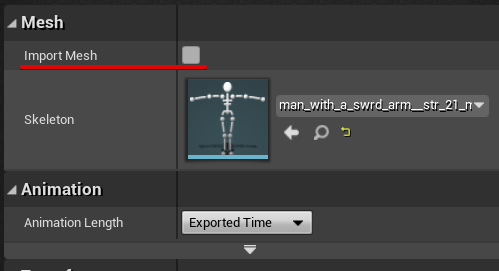
6. Disable Import Mesh:
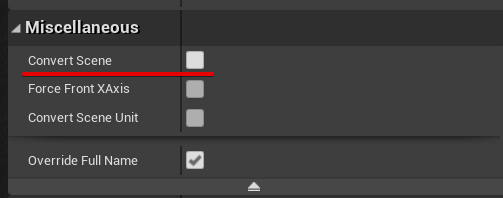
7. Disable Convert Scene:
8. Disable Force Front XAxis:
9. Click the Import button:
An Animation asset should be created:
Fixing Incorrect Rotation
In cases where models and animations are imported with incorrect rotations, there are two ways to fix this:
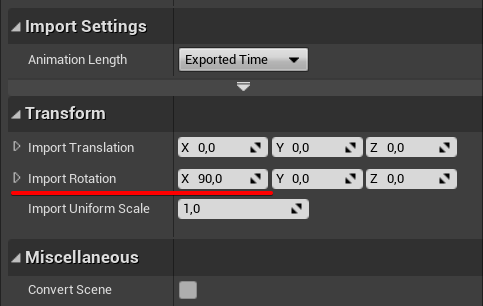
Set necessary rotations during import
1. In the Import window, set the Import Rotation values under the Transform panel:
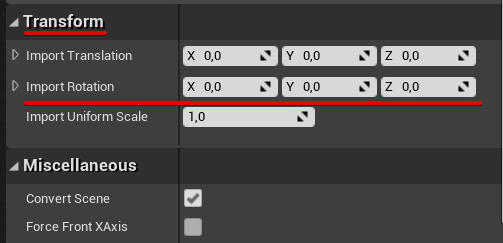
2. Proceed to import the model as described in the Custom Skeleton section.
Note
There is no way to preview rotations set during import. You might need several attempts to figure out the exact rotations you need.
Reimport animations with correct rotations
1. In the content browser, double-click the animation in the viewer to open it.
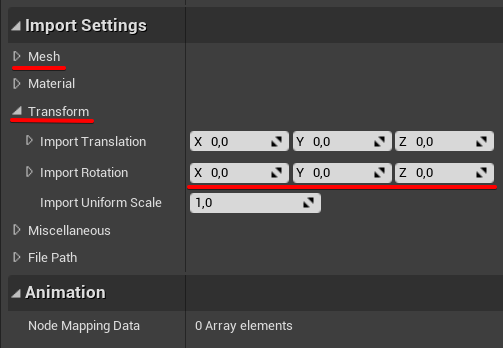
2. Set the necessary rotations:
3. Save the model/animation:
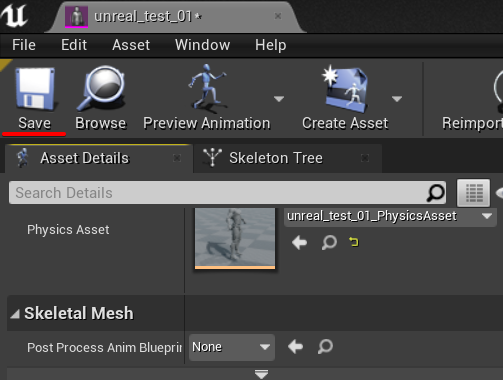
4. Close the viewer.
5. Right-click the model/animation asset and select Reimport from the menu:
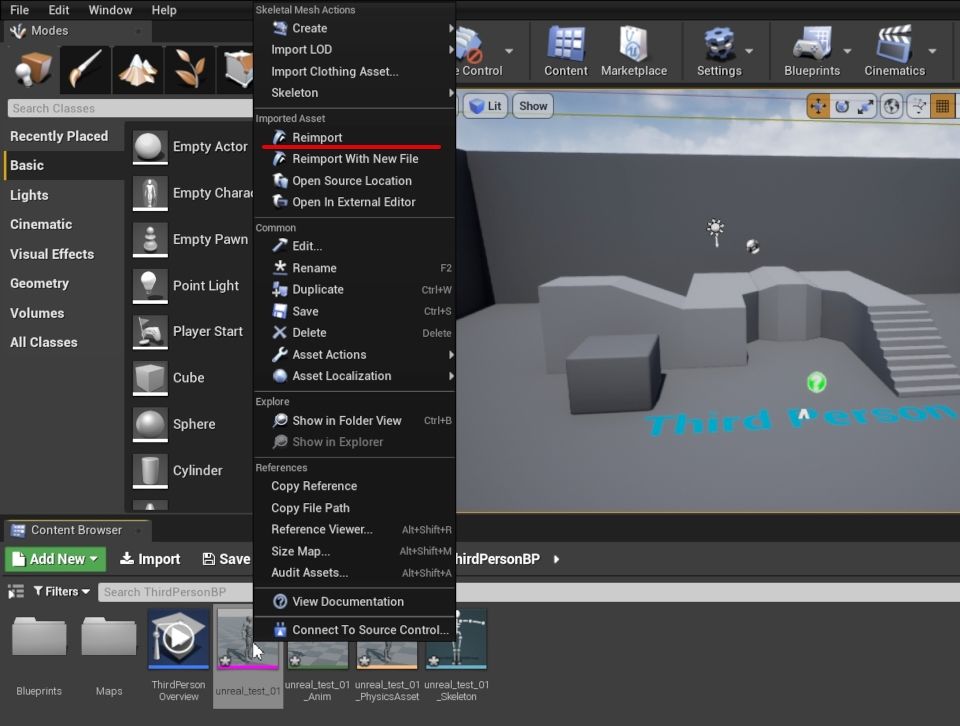
6. After this, the asset will be updated with the new rotations.
Rotation axis should be manually chosen in each individual case
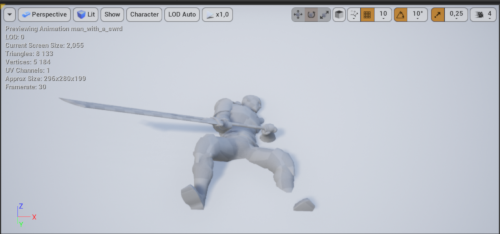
Here, for example, the character should be rotated by 90 degrees across X-axis:
Example