Working With Character Creator
- Home
- Getting Started
- Import FBX/DAE
- Working With Character Creator
Warning
This page is intended for users who already have some experience with rigging in Cascadeur.
To learn the basics of creating rigs, check out our tutorials.
To learn more about rigging and rigs in general, see the Rig section of the manual.
The process of importing Character Creator models to Cascadeur is similar to the regular import process, but with some important differences.
Model Import
Start with exporting your model from Character Creator to FBX format.
You can use any preset, all of them should work without issues.
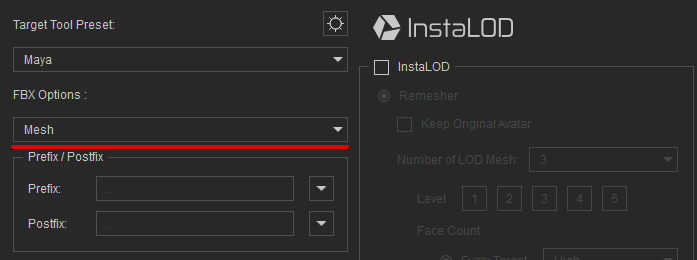
If you don’t need animation, we recommend setting the first parameter in the FBX Options tab to Mesh:
Note
By default, Character Creator exports animation with 60 fps, while Cascadeur uses 30 fps. To avoid possible inconsistencies, we recommend using one setting for both programs.
• If you are planning to use 30 fps animation, set Frame Rate to 30 during export.
• If you are planning to use 60 fps, set an empty Cascadeur scene to 60 fps before importing the model.
Once you have an FBX file, import it to Cascadeur.To do this, select either Import FBX/DAE → Scene or Import FBX/DAE → Model from the File menu.
The model should appear in the scene:
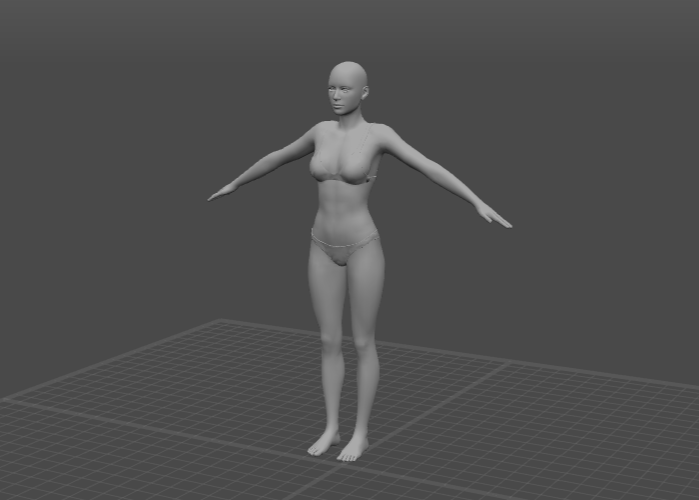
However, to be able to properly animate the model in Cascadeur, you’ll need to create a rig for it.
Preparing For Rigging
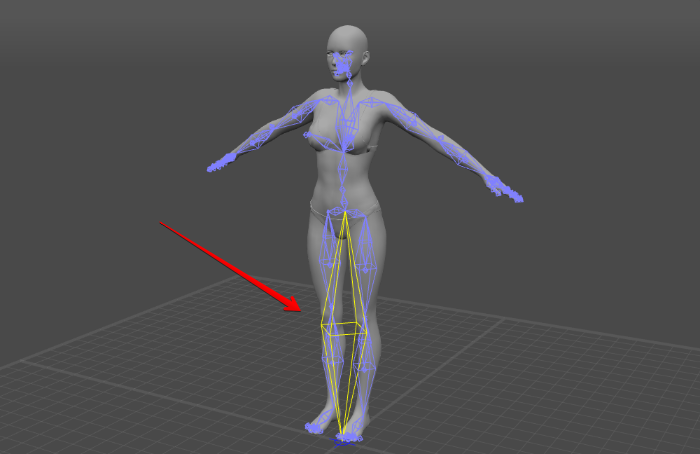
By default, models from Character Creator have their limbs forming straight lines.
Rigging a model like this would lead to issues with Direction Controllers. So for the rig to work properly we need to give the limbs a slight bend:
1. Switch to the Joint Mode.
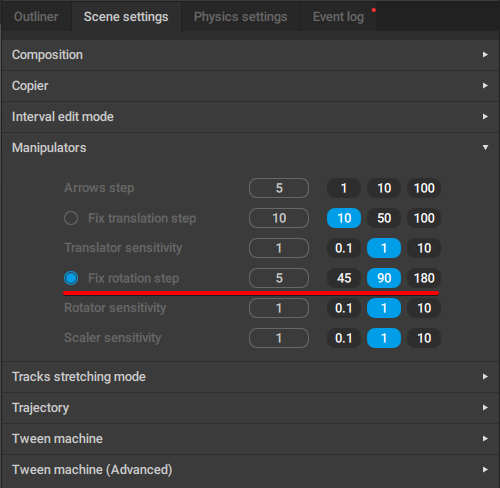
2. Go to the Scene settings panel.
3. On the Manipulators tab, enable Fix rotation step and set the value to something like 5:
4. Select a limb.
5. Use the Rotate manipulator to bend it:
This should be done for both arms and legs
Creating the Rig
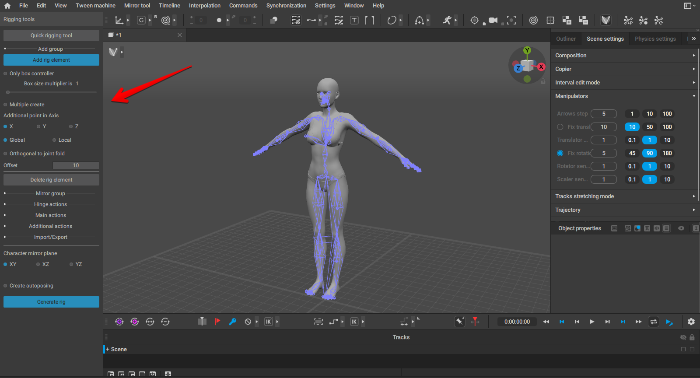
Now you can proceed to rig the character. The easiest way to do this is to use the Quick Rigging Tool:
1. Turn on the Rig Mode:

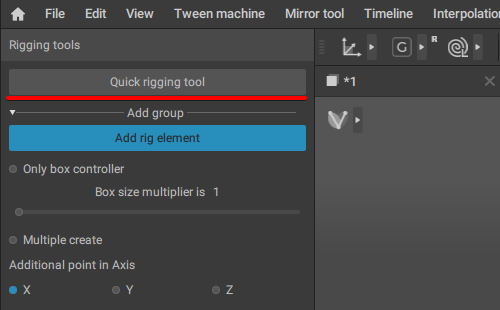
2. The Rigging Tools window should appear:
3. There, click the Quick Rigging Tool button:
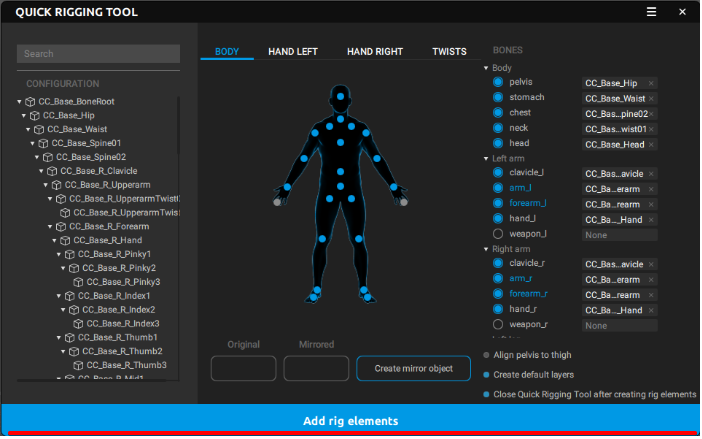
The Quick Rigging Tool window will appear:
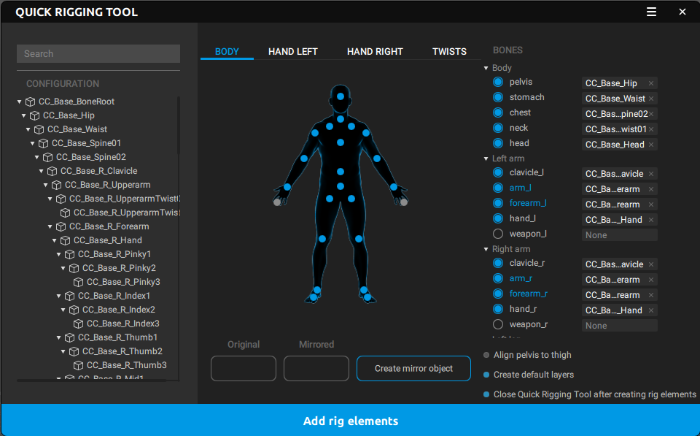
In this window, you’ll need to set an appropriate joint for every point/slot.
See the Quick Rigging Tool page to learn more about doing this.
If you are using one of the standard Character Creator models, joints will be assigned automatically. If you rig a more customized character, you’ll have to assign them manually.
However, you don’t have to rig every joint. For example:
The Standard Character Creator skeleton starts with a root joint. Joints like these are sometimes used for moving the character as a whole, but for Cascadeur rig, they are not necessary. We recommend to ignore the root and start rigging from the next joint in the hierarchy (named pelvis).
Warning
Before you start creating a rig for your character, make sure that the character’s feet touch the ground level. If this is not the case, you should manually position the character on the ground.
When the feet don’t touch the ground in their default position, the AutoPosing feature won’t be able to handle them properly.
Joints
The structure of the Cascadeur rig is similar to that of the one in Character Creator, but there are some differences.
The following table lists the joints in the Cascadeur rig and their counterparts in the CC:
| Cascadeur | Character Creator |
| pelvis | Hip |
| stomach | Spine01 |
| chest | Spine02 |
| neck | NeckTwist01 |
| head | Head |
| clavicle_r | R_Clavicle |
| arm_r | R_Upperarm |
| forearm_r | R_Forearm |
| hand_r | R_Hand |
| thigh_r | R_Thigh |
| calf_r | R_Calf |
| foot_r | R_Foot |
| toe_r | R_ToeBase |
Skeletons in Character Creator are symmetrical. This means that you only need to rig the limbs on one side and then simply mirror them for the other.
This is not required, but can greatly speed up the rigging process.
See the Quick Rigging Tool page to learn more about limb mirroring.
Once you set all of the joints, click Add rig elements:
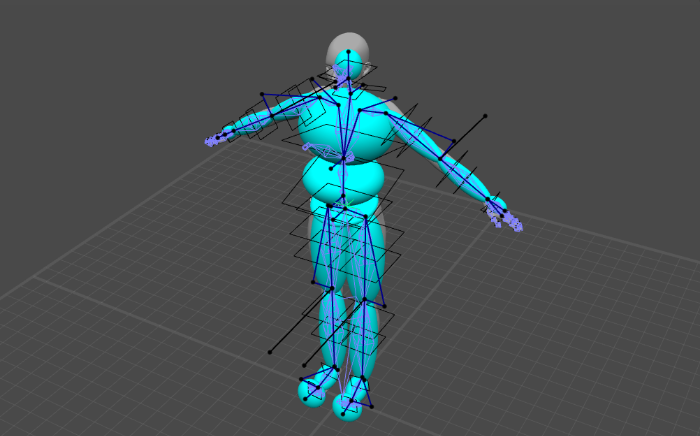
Then close the Quick Rigging Tool window. You should see the character model with sets of prototype objects attached:
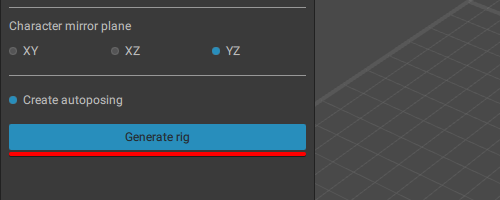
Now, the only thing left is to finalize the rig. To do this, click the Generate rig button at the bottom of the Rigging tools panel:
The end result should be something like this:
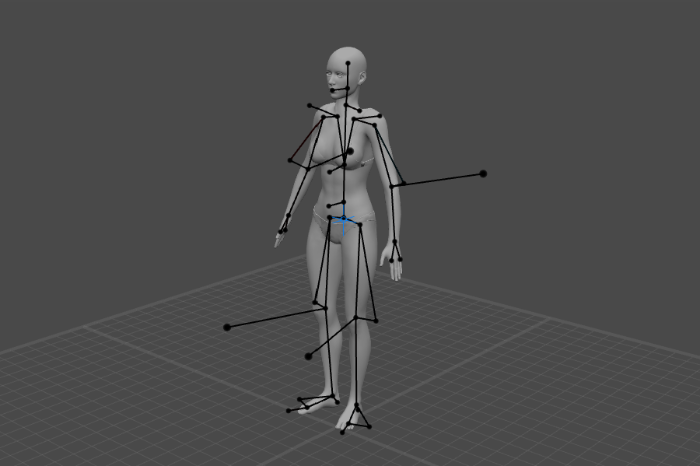
Now your character is properly riggen and can be used in Cascadeur.