Quick Rigging Tool
Creating character rigs can be a long and complicated process. However, if you are rigging a humanoid character, there is an option to do it in a much more convenient way.
Enabling Quick Rigging Tool
To enable this tool:
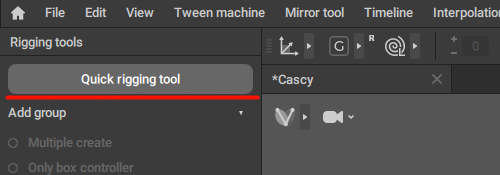
1. Click the Rig mode button on the Toolbar:

2. The Rigging tools panel will appear at the left side of the window:
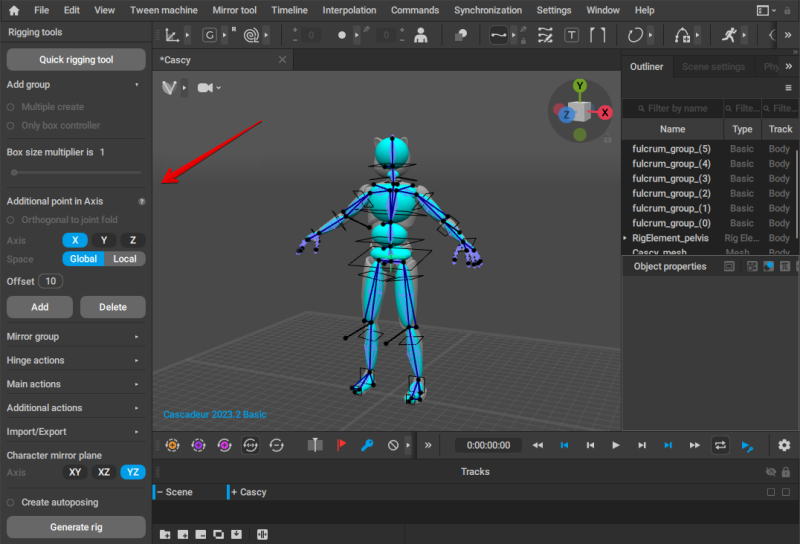
3. In this window, click the Quick Rigging Tool button:
After this, the Quick Rigging Tool window should appear.
Interface

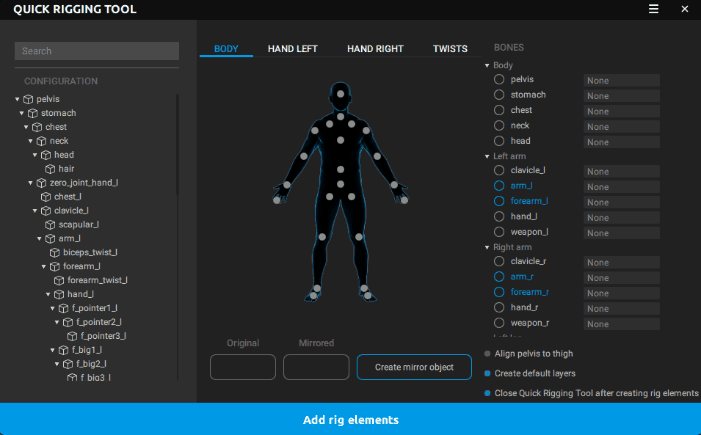
The window is separated into three parts: a list of all available Joints at the left, the main part in the middle, and the Bones section at the right.
Configuration
On the left side of the window, you have the hierarchical list of joints in the model you’ve imported.
The middle section shows a graphical representation of the character - or of one of the character’s body parts.
There are two templates: Humanoid for human-shape characters, and Quadruped for four-legged ones.

Comparison of Humanoid (left) and Quadruped (right) rigging templates.
Which one to use depends on the kind of character you are planning to rig.
The points in this image represent the positions of the rig elements. The color of a point shows its state:
- a grey point is empty
- a blue point has a joint connected to the corresponding part of the rig
These points can be used for creating prototype elements.
This section is separated into several tabs, each with a different set of points. For the Humanoid template, the tabs are:
- Body
- Hand Left
- Hand Right
- Twists (contains points for Twist Joints)
For the Quadruped template, the set of tabs is different:
- Body
- Paw FL
- Paw FR
- Paw HL
- Paw HR
Twists and Untwists
There is also the Twists tab, where you can set up Twist Bones:

On that tab, there’s a list of the twist bones that can be added to the character rig. The number of bones is eight: two per each limb.
As with other bones, they are represented by points.
By dragging a Joint on top of one of these points, you assign that Joint as a twist. Its name will be shown on the Bones panel, in the Joint name field that corresponds to the twist’s place in the rig.
Near that field is the Untwist option. Enabling it would designate the joint as an untwist bone (a special kind of bone used for limiting rotation).
And once the rig is generated, there will be a Box Controller attached to the bone. This controller can be used to control the rotation.
Note
This tab is only available for the Humanoid template.
If you need twist bones for quadruped characters, you’ll have to add them manually using the regular Rigging Tools.
Create Mirror Objects
Clicking this button will find counterparts for symmetrical Joints and place them to corresponding slots.
To use this feature:
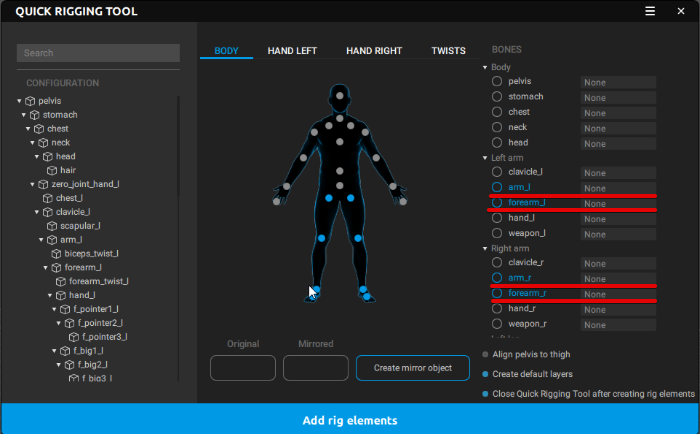
1. Drag a Joint that has a counterpart (such as an arm or a leg Joint) to an appropriate slot.
2. In the Original field, enter the part of the name of this joint that designates it as either left or right (for example, if the joint is named 'arm_l', the part you need to enter would be '_l')
3. In the Mirrored field, enter the differential part for the joint on the opposite side (“_r” in our example)
4. After this, click Create mirror objects. The tool will automatically copy prototypes from the original Joints and apply them to the mirrored Joint.
See Mirroring page to learn more about naming symmetrical joints.
Additional Parameters
These settings are found at the bottom right corner of the window.
They control various nuances of how the rig is generated.
Align pelvis to thigh
If this option is enabled, the point associated with the pelvis joint is projected to the line that connects the thigh points:
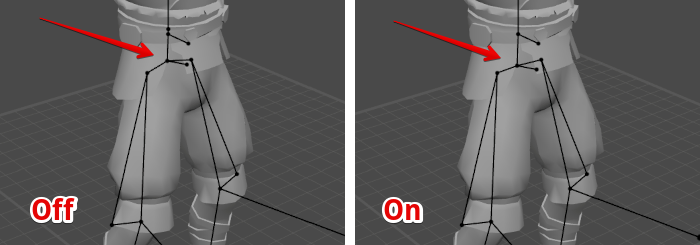
This option is useful when the pelvis Joint (and its controller) is lower than thighs, or too close to the next Joint in the spine ( the pelvis Joint is too short).
In such cases, AutoPosing won't work properly. To fix it, enable this option to even things out.
Create default layers
If this is enabled, the newly created rig elements - and parts of the model connected to them - are placed on different Animation Tracks, similar to what is seen in Cascadeur sample scenes.
Enabled by default.
Warning
If you already have joints distributed on tracks, using this function will re-distribute them, overwriting your original structure.
Close Rigging Tool after creating rig elements
If this is enabled, the Quick Rigging Tool would close automatically after you generate the rig elements.
Replace existing rig elements
If this is enabled, Quick Rigging Tool will overwrite existing rig elements; otherwise, Cascadeur will only create rig elements for the parts that don’t have them already..
Spline IK
If this is enabled, a Spline IK controller will be created for the character’s spine.
Hinge Logic
This parameter sets how the Quick Rigging Tool should pick the axis to orient the additional point (and subsequently the Direction Controller which is orthogonal to it) for the Hinge Connections.
A hinge should rotate on one axis. The hinge logic solves the vector to use as the hinge axis.
This option includes two fields: Arms and Legs, as Hinge Logic is set separately for the character’s arms and legs.
There are four available options:
Plane: The normal of a triangle is used as the axis (this is ideal).
World Axis: the QRT has hard coded directions in character space to use as the direction. Assuming the character is facing down the Z axis, then for the legs it's the right (x) axis. This may or may not cause the rig element to be offset from the joint's pivot, depending on how well the skeleton was built.
Joint Axis: A properly built rig should already have a joint axis that can act as a hinge. Here we find the joint axis that is the closest to matching the hard coded world axis. This may or may not cause the rig element to be offset from the joint's pivot, depending on how well the skeleton was built.
Auto: Tries to use the plane option, but if the dot products of p2-p1 and p3 - p2 is nearly 1, it falls back to the joint for arms and world for legs.
Add Rig Elements
Clicking this button generates sets of prototypes for the joints you’ve added to the Bones list.
Using Quick Rigging Tool
Quick Rigging Tool gives you an option to quickly create prototype elements using the standard Cascadeur rig as a base.
To create a set of prototypes for a joint, simply drag this joint from the Configuration to the point it should correspond to:
Alternatively, you can drag the bone to the corresponding item in the Bones list.
Repeat this process for every joint you want to rig.
To remove a joint from the Bones list, click X next to its name:
You can also use the Create mirror objects feature to simplify the rigging process.
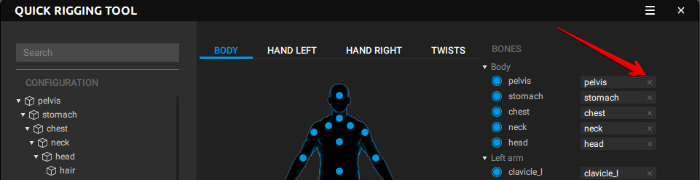
You don’t have to rig every joint in the skeleton. However, certain joints are required to be rigged if you want your rig to work correctly. These joints are colored blue in the Bones list:
After you've finished adding joints to the Bones list, click Add rig elements to generates sets of prototypes for these joints.
Once the prototype rig is generated, close Quick Rigging Tool and go to the Rigging Tool window:
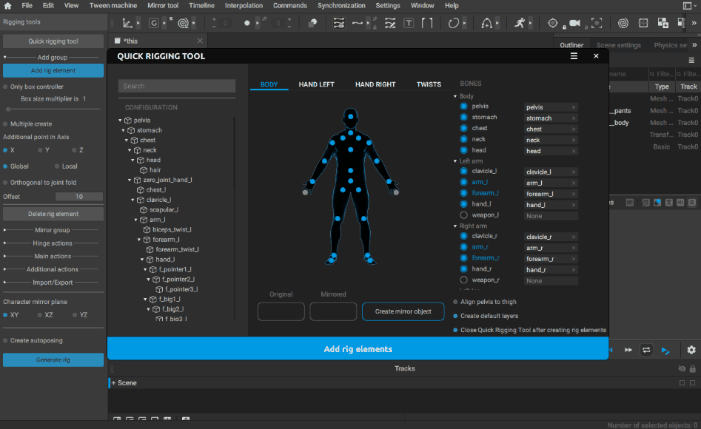
You can use the Rigging Tool to further adjust the generated rig, if this is necessary.
Once you’re done, simply click Generate rig to finalize your character.
Import and Export
After you finish creating prototype objects, you can save this setup to use it with another character. To do this:
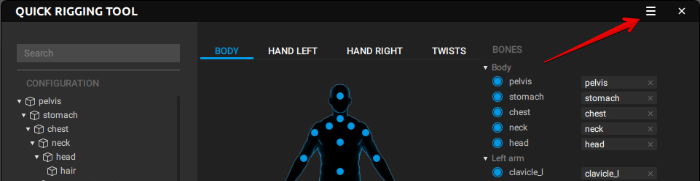
1. Click the button near the cross sign.
The following menu will appear:
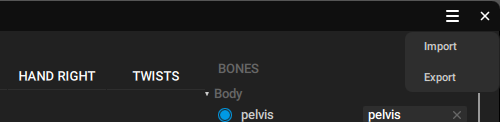
2. From this menu, select Export.
3. Set the name for the file.
To apply a previously saved setup to a new character:
1. Open the same menu as described above.
2. Select Import from it.
3. Select the file containing the prototype data.
After this, you should get a set of joints connected to the corresponding rig sockets. You can either convert them into prototype objects right away (using the Create prototypes rig button), or make some further adjustments, if necessary.
Prototype rigs are saved using a dedicated file format. They cannot be read by any other software.
Example