Rigging Props
- Home
- Rig
- Advanced Rigging
- Adding Objects
- Rigging Props
Character models can include props - separate object that the character holds in their hands, such as tools or weapons. This page describes how such props should be rigged.
Setting Up Prototypes
After Rig Elements for the rest of the character are set up:
1. Select the prop Joint.
2. Click the Add rig element button to create an element for it.
If your prop object has multiple joints, you can select only the first and the last one in the chain and create only one rigid body for the whole prop.
3. Change the width of your newly created rig element and set a mass for it.
Note
Alternatively, you can set rig elements in the Quick Rigging Tool.
However, if the prop has multiple Joints, you'll still have to manually adjust rig elements in the regular Rigging Tool.
4. Adjust the size of the Box Controller.
5. (optional) Create an additional point.
6. Select the prototype rig element you've created.
7. Open the Points update settings tab in the Outliner panel.
8. Disable Bind with parent: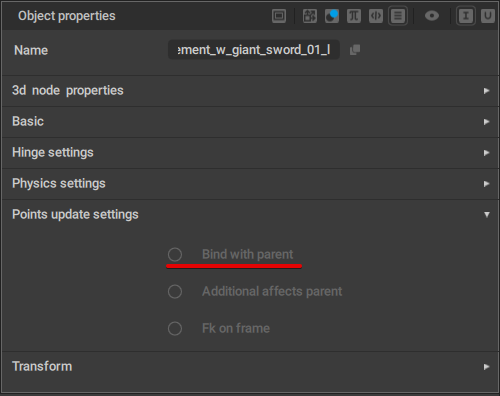
Prop Hierarchy
If your prop joint is not a part of the character’s joint chain, you should manually move its proto component to an appropriate position in the rig hierarchy.
9. Use the Left Mouse Button to drag it in the Outliner window.

Centers of Mass
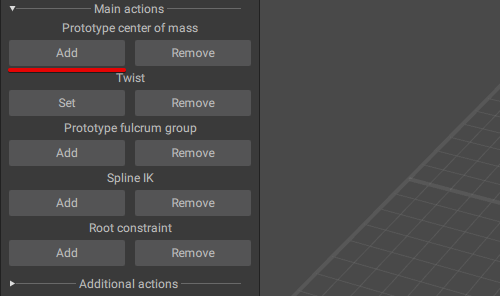
10. Select your prop’s proto component.
11. Create a center of mass for it by clicking Add button in the Prototype center of mass section of the Rigging Tools panel.
Don’t forget to properly name the newly created Center of Mass.
12. Select all of the character’s proto objects except your prop’s proto component and create a center of mass for the character.
13. Select both of the newly created centers of mass.
14. Create a common center of mass for them by clicking the Add button in the Prototype center of mass section.
14. Finalize the rig by clicking the Generate rig button:
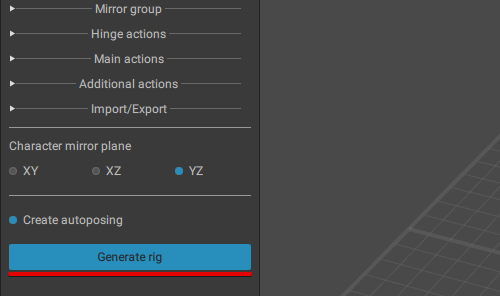
Now, everything should work properly.
Example