Rigid Body Offset
- Home
- Rig
- Advanced Rigging
- Advanced Rigging Techniques
- Rigid Body Offset
This feature allows you to change positions of the prototype Rigid Bodies without affecting Point Controllers associated with them.
By default, the position and spatial orientation of a Rigid Body is defined by its Point Controllers:
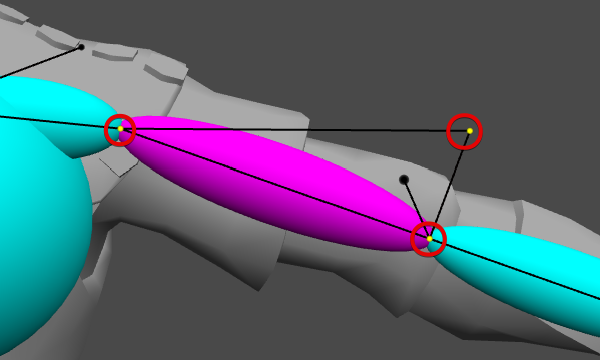
But in real-life scenarios mass might not be distributed so evenly.
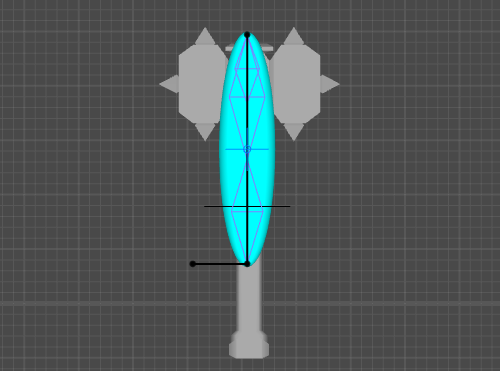
Here, for example, the majority of the mass is concentraited at the head, while the handle only amounts for a small part of it. Logically, the corresponding Rigid Body should be placed at the head.
But on the other hand, we’d still want to keep the Point Controllers where they are so it would be convenient to animate:
For cases like these, we can use Rigid Body Offset.
1. In the Outliner, click the icon at the top right corner to open the menu:
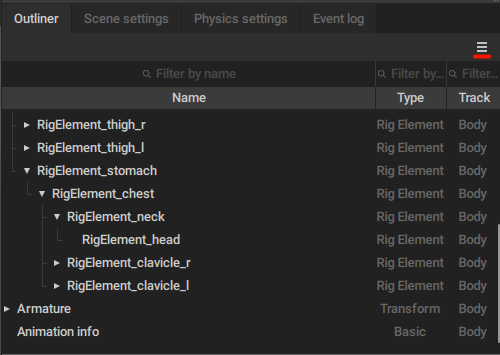
2. In this menu, enable the Show prototypes inner objects option:
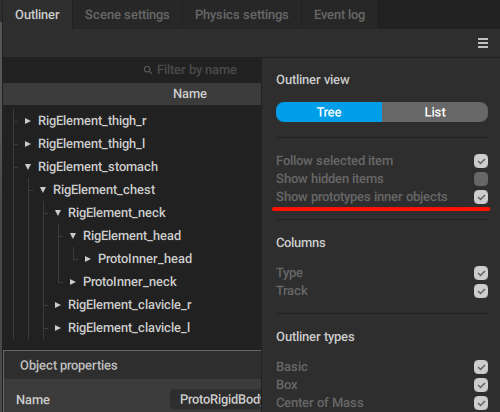
This will make prototype objects attached to the rig elements available in the Outliner.
3. Select a rig element (either in the Outliner, or in the Viewport):
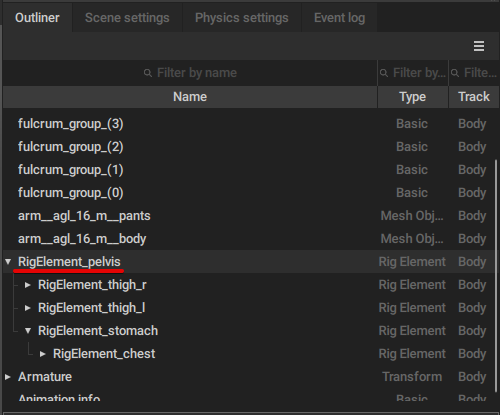
4. Select the prototype Rigid Body attached to this element:
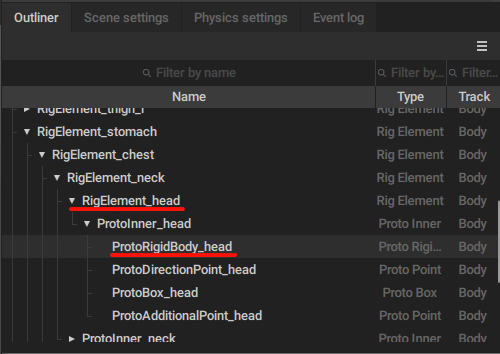
By selecting a rig element (RigElement_pelvis in this example), you also select the prototype rigid body that is attached to it.
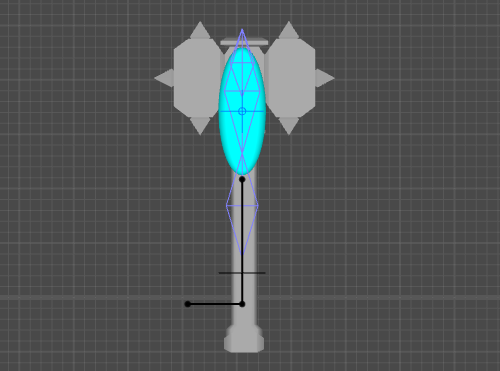
5. In the Viewport, use Manipulators to move this rigid body:
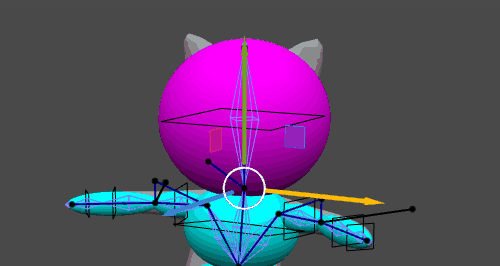
This way you can adjust Rigid Bodies to more precisely represent the distribution of mass.
Adjusted positions of the prototype Rigid Bodies are saved in the .casc files, as well as in the JSON files used for interchanging rig data.