Scenes with Multiple Characters
- Home
- Getting Started
- Scenes
- Scenes with Multiple Characters
Sometimes you might need more than one character in your scene. This page describes how this can be achieved.
Getting Started
Start with opening a scene containing one character:
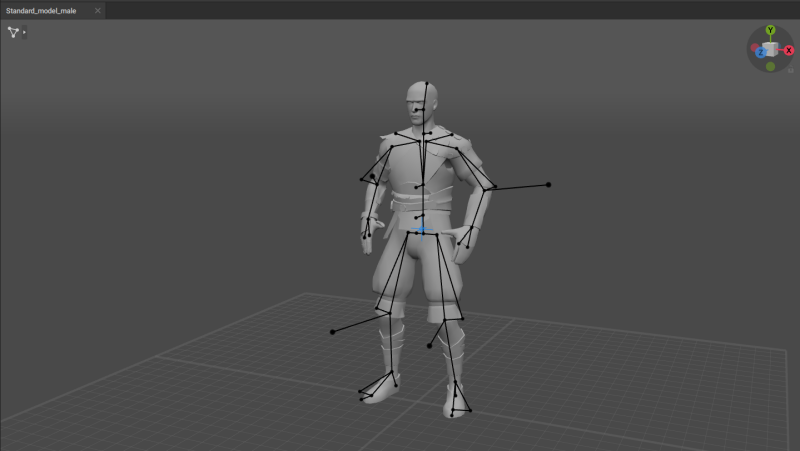
Here we are using the Standard_model_male.casc file from the standard Cascadeur package as an example.
Importing Characters
Now you can add the second character.
1. Select Import → Import Fbx/Dae from the File menu:

2. Select the .casc file containing the second character.
Now the second character should appear in the scene.

But as you can see, the imported character appears at the center of the scene: the place already occupied by the first character.
To move a character:
3. Switch to the Point Controller Mode.
4. Select every the character's Center of Mass.
5. Use the Translate manipulator to move the character.

Repeat these steps for every character you’d like to add to the scene.
Namespaces
Imported characters are automatically assigned namespaces: the first imported character gets character_1 namespace, the second is character_2 and so on.
This is done to avoid naming conflicts. In a Cascadeur scene, you can use one name for several objects without issues; however, if you try to export such a scene into FBX or Collada format, this will lead to conflicts.
Note
These namespaces do not take into account the character or characters that are in the scene from the start.
You can manually change namespace for any odject. To do this:
1. Select an object.
2. Use the Change namespace option from the Commands menu:
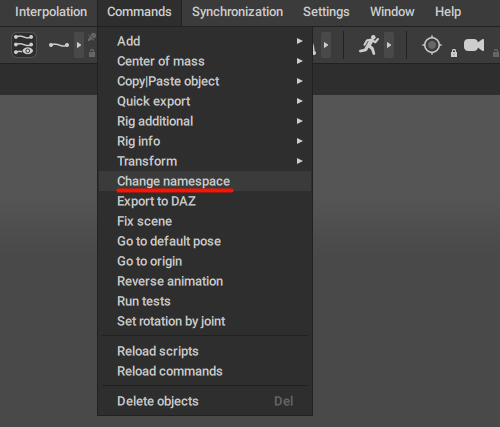
3. Set the new namespace for the object you've selected.
And this is all there is to know about setting up scenes with multiple characters.
However: keep in mind that populating the scene with a large number of characters may cause slowdowns.
If your system is unable to process as many characters as you need, you might try to use Scene Linking Tool.
Example