Migrating from Closed Beta
- Home
- Rig
- Scene Preparation
- Migrating from Closed Beta
There are some incompatibilities between Closed Beta and newer versions.
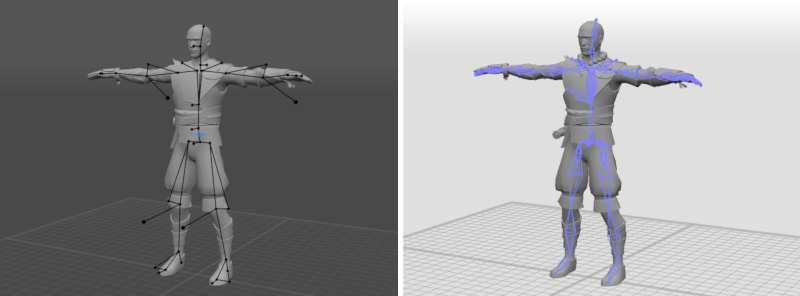
If you try to open an old .casc file (left) in the Open Beta or Early Access version (right), you’ll get a mesh with joints attached, but no controllers or other rig elements.
Note
If the scene includes animation, it too will be imported.
Migrating Rigs
To migrate an old rig to the new version, you’ll need a file containing the prototype rig.
This file should be saved before the rig is finalized (before you click the Create Rig button on the Rigging Tool panel).
If you don’t have a file like this, try checking the autosave folder.
In the Closed Beta version, the default path to the autosave folder is
- Windows: C:\Users\<user_name>\AppData\Local\Cascadeur\Autosave
- Ubuntu: /home/<user_name>/.local/share/Cascadeur/Autosave
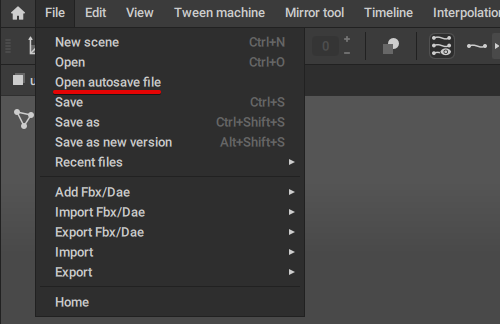
In recent versions, autosave files can be accessed by selecting File → Open autosave file:
Necessary Preparations
This step should be taken during the rigging stage (before you click the Generate Rig button).
1. Open the file containing the prototype rig.
2. Open the Rigging Tool panel
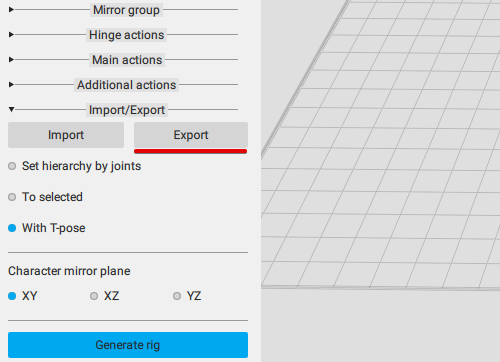
3. Click the Export button in the Import/Export section:
Note
This should be done before the rig is finalized. Otherwise, you won't be able to migrate your rig: once the rig is complete, there is no way to generate a JSON file from it.
For the same reason, the outdated UI is shown in this section.
Migrating the Rig
1. Now, open the .casc file containing your character in the new version of Cascadeur.
You’ll get the mesh with the skeleton attached.
2. Once again, open the Rigging tools panel.
3. Click the Import button in the Import/Export section:
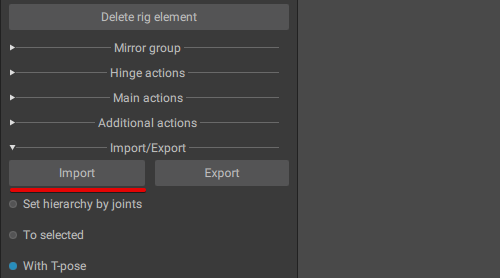
4. Select the JSON file containing your rig.
5. Set the Character mirror plane
For bipedal character, the YZ plane is usually a fitting choice
6. Click Generate Rig.
This way, you’ll get a fully rigged character.
Migrating Scenes
You can also transfer animations from outdated scenes to the new ones.
To do this, you will need:
- An animated scene compatible with the old version
- A fully-rigged character compatible with the new version. This character should have the set of joints identical to the one you’ve used for animation.
1. Open the new scene
This scene should include the fully-rigged character(s)
2. Open the old scene in a new tab
This scene will include the mesh, the joints, and animation attached to the joints, but not any rig elements
3. Switch to Joint Mode.
4. Select every joint (Ctrl+A).
5. Select the frames containing the animation you want to use.
6. Select Copy Interval from the Edit menu (Ctrl + Shift + C).
7. Go back to the new scene.
8. Once again, select every joint in the new scene.
9. Select the same set of frames on the Timeline.
10. Select Paste Interval from the Edit menu (Ctrl + Shift + V).