Hinge Connections
- Home
- Rig
- Advanced Rigging
- Limbs
- Hinge Connections
For body parts like knees and elbows to bend in a proper way, hinge connections should be used. A hinge connection acts as a pivot across which the limb would rotate. And for a hinge connection to work properly, the additional point controller should be placed on the bending axis.
Hinges should be created for:
- Elbows
- Knees
- Toes
Creating Connections
To create a hinge connection:
1. Enable the Orthogonal to joint fold option.
2. Create rig elements for the limb.
3. Select additional point controllers before and after the place where the limb should bend.
4. Click the Union to hinge button.
The additional points you have selected will be positioned in one place. When the actual rig is generated, Cascadeur will interpret this as a marker for a hinge connection and create a hinge there.
Cascadeur can also automatically create a Direction Controller for the hinge.
This is only possible if the hinge is orthogonal to the edge that connect the main controller with the main direction controller.
Right (left) and non-right (right) angles.
If the hinge is not orthogonal to the limb, you can fix this by using the Ortho hinge button:
1. Select both of the hinge controllers.
2. Click the Ortho hinge button
How to Bend the Limbs
However, if the limbs of your characters are completely straight, the software would not be able to automatically calculate bending axes for them. In a case like this you’ll have to manually fold the limbs to the same degree.
To do this:
1. Select both of the hinge controllers
2. In the Outliner, disable the Manipulator Locker:
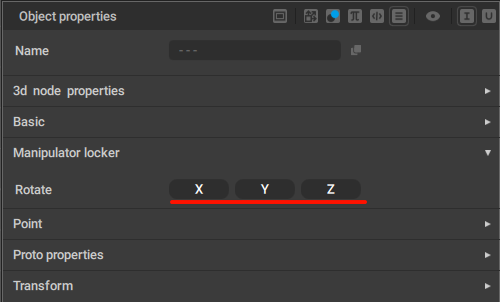
3. Right-click the point where the joints connect to set the pivot to it.
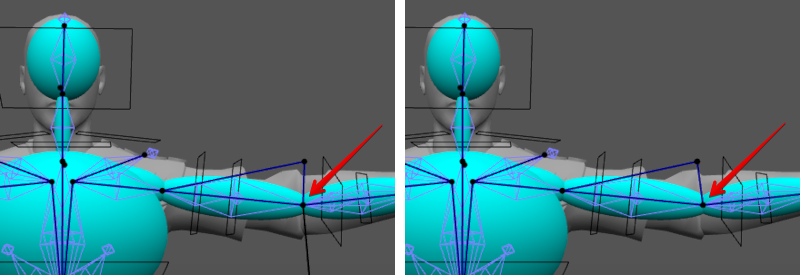
4. Rotate the hinge controllers across this point to form a right angle.
5. Click Straighten to hinge:

Doing this should cause Rig Elements to change their positions:
With this, the limb should bend properly.
Adding Direction Controllers
Creating a hinge connection also creates a direction controller for it. If you don't need it:
1. Select the rig element associated with the limb for which you create a hinge.
2. In the Outliner window, open the Hinge settings tab:
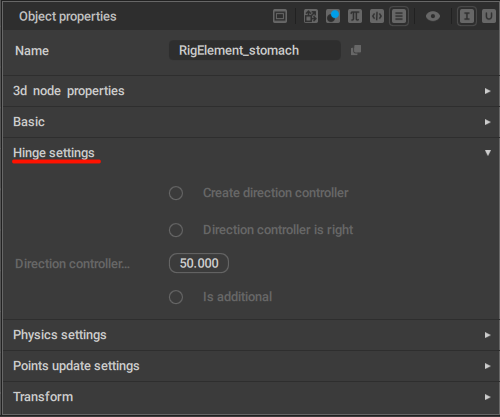
3. On this tab, disable Create direction controller:
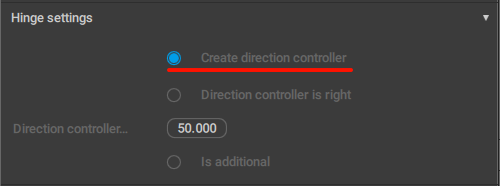
4. Now when you create a hinge connection for this joint, the program will not generate a direction controller for it.
Double Hinge Connections
Sometimes, the structure of the limb would imply several Hinge Connections in succession. For a case like this:
1. Select the rig elements for the next part of the limb.
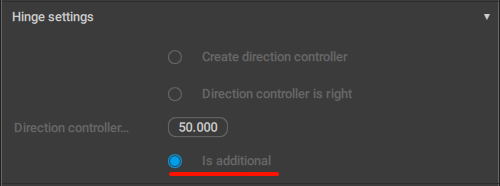
2. Open the Hinge settings tab in the Object Properties panel.
3. Enable the Is additional option:
Important note:
Make sure that the Additional Points are on the same side as the ones in the preceding hinge connection.
If they are not, you can select the point in the first hinge, copy its position (Ctrl + C) and then paste it (Ctrl + V) onto the Additional Point in the second connection.
Warning
Currently, you can only create two Hinge Connections in a row. A higher number of successive hinges won’t work properly.
This limitation will be removed in future versions.