Tween Machine
- Home
- Tools
- Animation Tools
- Tween Machine
This tool is used for blending the object’s current position with a different position: either taken from other frames or calculated on the basis of these frames.
The Tween Machine can be accessed through the dedicated Tween Machine tab at the right side of the Viewport window (on the same panel as the Scene Settings and Physics Settins tabs):

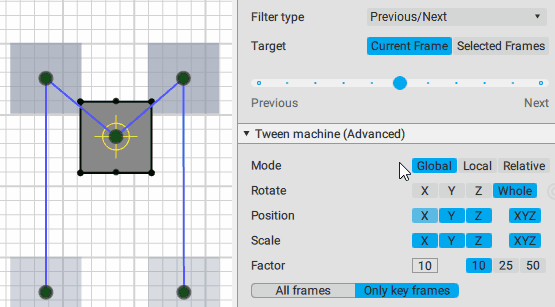
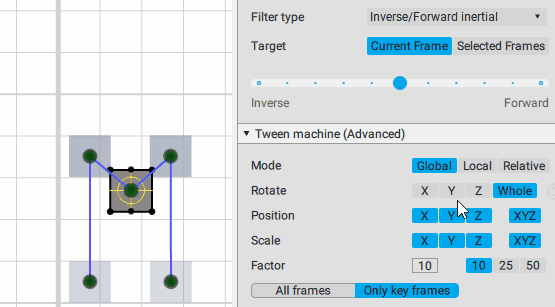
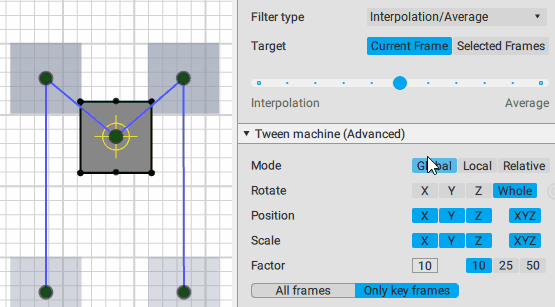
Filter type
Defines the method for blending the frames. Available options are:
- Previous/Next
- Inverse/Forward inertial
- Interpolation/Average
These options are described in greater detail below.
Target
Defines the frames to which tweening is applied.
- Current Frame means that tweening is applied exclusively to the current frame (marked by the Current frame indicator)
- Selected Frames mean that tweening is applied to every frame in the selected interval.
Mode
Defines the coordinate system used for applying tweening.
- Global means world coordinates are used.
- Local means selected objects' local coordinates are used.
- Relative means selected objects' positions in relation to their parents are used.
All frames and Only key frames buttons set the type of frames to apply tweening to:
- When All frames is enabled, the Tween Machine would work with every selected frame.
- With Only key frames turned on, it would only work with the selected keyframes.
Slider
This is the main control of the Tween Machine tool. By moving this slider you can mix the current position(s) of the selected objects with two other positions defined by the Filter type settings:
Previous/Next position:
Inverse/Forward inertial:
Interpolation:
Average:

Using the slider is the intended way of applying Tween Machine functionality your objects and animation.
However, you can also use the Tween Machine menu to a similar effect . See Tween Machine Menu Guide to learn more about using them.
Settings
Various parameters for the Tween Machine can be found lower, under the Advanced Settings tab:

Rotate
This parameter defines coordinate axes that can be used to rotate an object when a filter is applied.
There are four possible options: X, Y, Z, and Whole. The latter means all three axes are used.
Position
This parameter defines coordinate axes that can be used to change the position of the object to which a filter is applied.
There are four possible options: X, Y, Z, and XYZ (the latter means all three axes are used).
Scale
This parameter defines coordinate axes that can be used to change an object's scale when a filter is applied.
There are four possible options: X, Y, Z, and XYZ (the latter mean all three axes are used).
Factor
Defines the influence of the Tween Machine when applied using commands from the Tween Machine menu.
This value ranges from 0 to 100.
100 means the selected command will have maximum effect (like when the slider is moved all the way to the right); 0 means it'll have no effect (as if the slider remains at the center).
Relaxation
This setting defines how Relaxation is applied: on keyframes (the Frame value) or on interpolation intervals (the Interpolation value).
Frame change mode
This setting is used when the Target setting is set to Current frame.
It defines how Tween Machine works when applied to a frame with no key:
- Set key means a keyframe wil be created.
- Set fixed means the interpolation on this frame will be changed to Fixed.
- Do nothing means there will be no changes.
Interval change mode
This setting is used when the Target setting is set to Selected frames.
It defines how Tween Machine works with the interval to which it is applied:
- Set fixed means interpolation on the interval will be changed to Fixed.
- Do nothing means there will be no changes.
Reset
Clicking this button restores all setting on this tab to their initial values.