Scenes
- Home
- Getting Started
- Scenes
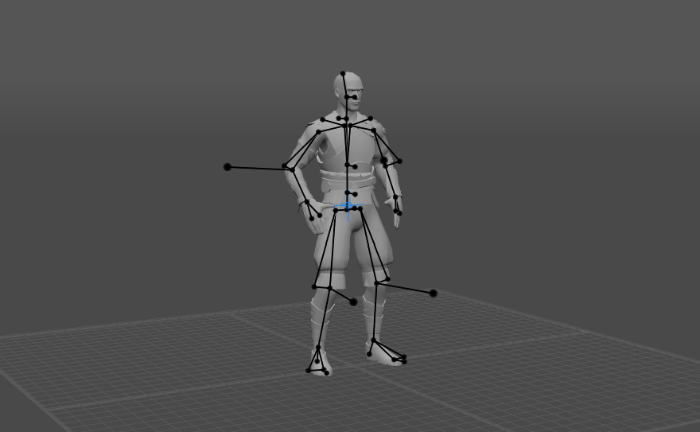
A standart scene with one character in the Viewport window
Animation in Cascadeur is created within Scenes. A scene is, in essence, a set of objects all of which are available for editing at the same time. A scene can be saved to a .casc file, and a previously saved scene can be restored from a file.
Scenes are primarily viewed through the Viewport window. You can open multiple scenes at the same time, with each one occupying a separate tab in the Viewport.
To learn about controlling the scene, see Main Controls
Creating a New Scene
Working on an animation project should start with creating a new scene. There are two ways to do this.
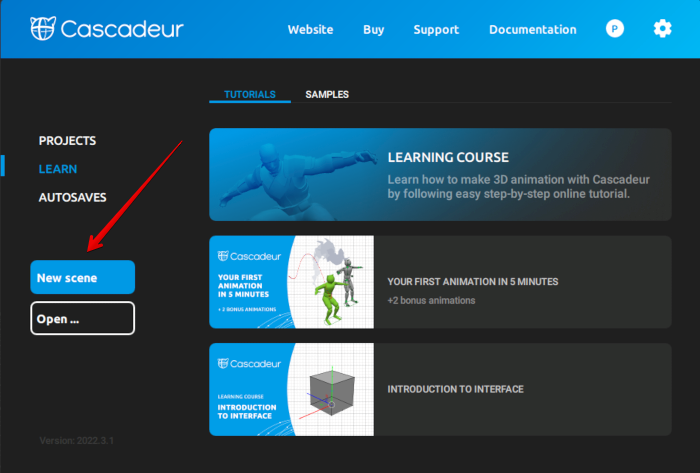
First, you can click the New Scene button on the splash screen that appears when you run Cascadeur:
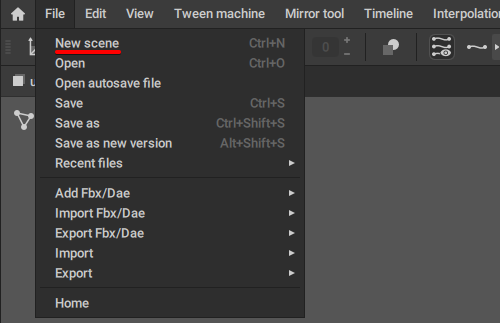
Second, you can select New Scene from the File menu:
Either way, this will create a new empty scene:
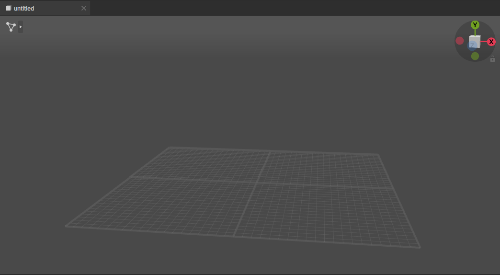
A newly created scene in the Viewport window
Opening an Existing Scene
Alternatively, you can load a pre-existing scene to use it as a base for your work. As with creating a new file, this can be done in two ways:
First, you can select Open... from the File menu:
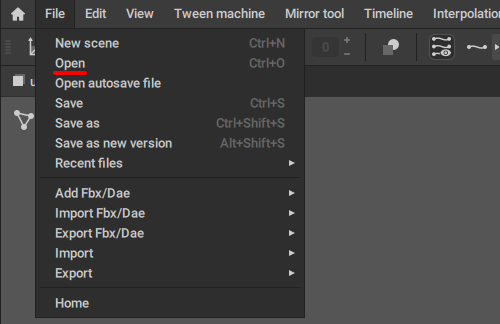
A standard Open File dialogue will appear. Use it to specify the file you need to open.
Second, you can open a folder that contains the file you need in any file manager and double-click the name of the file:
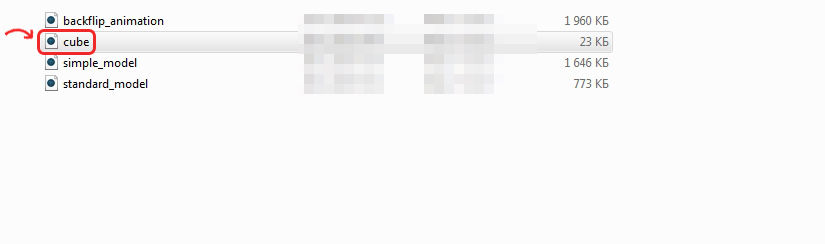
Either way, the file you've chosen will be loaded to Cascadeur and shown in the Viewport window:
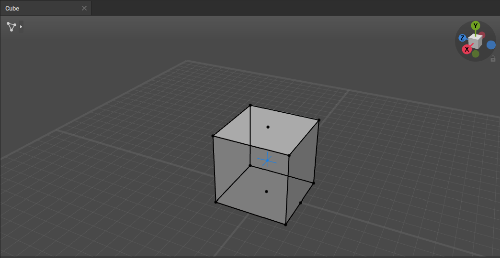
The cube.casc (included in the installation package) file opened in the program
Scene Contents
A scene can include the following types of objects:
- Characters
- Camera objects
- Helper objects
Models and Characters
Cascadeur works with 3d models, or meshes: 3d objects that represent an object or a character.
These models can be animated on their own, but this method of animation is very limited. You’ll only be able to move and scale objects, but not to deform them - which is often necessary for more complex animations. Moreover, you won’t be able to use most of the functionality Cascadeur provides.
Because of this, a better way to animate 3d models is to use a skeleton.
A skeleton is a set of Joints (bones) that is attached to the mesh and then used for controlling it. Each joint is linked to a part of the mesh, allowing you to move the character’s skeleton to position the character.
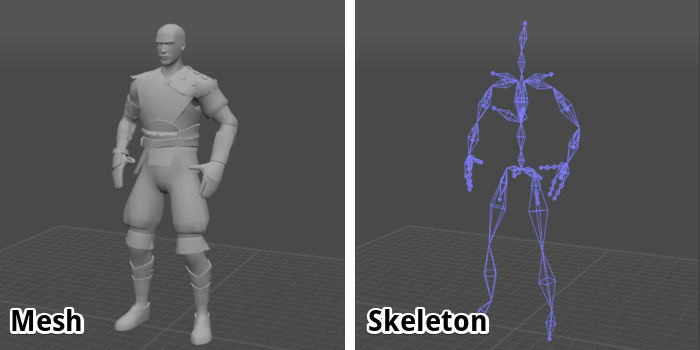
Character mesh (left) and character skeleton (right) as seen in Cascadeur viewport.
3d models with skeletons attached are often referred to as characters.
Meshes and joints are both brought to Cascadeur through the process of import.
Links between joints and meshes are created through skinning.
Skinning establishes the influence joints have on the parts of the mesh.
The image below shows a character in Blender (a popular 3d software). Here, you can see several of the joints with the amount of influence each one of them has on the parts of the mesh:
Red color means maximum influence, blue means no influence.
These values are used to deform the mesh when joints move:
A skinned mesh would deform in accordance to the skeleton attached to it.
Currently, skinning cannot be done in Cascadeur. You need to import your models with their meshes already skinned to the joints. This can be done in most of the 3d software solutions.
When you don’t have access to such software, you might consider online solutions such as Mixamo. Using them, you can upload a 3d model and attach it to a standard humanoid skeleton; skinning values will be generated automatically.
This approach will obviously only work with human-shaped characters, but if your characters are indeed human-shaped, this might be enough.
If you are not sure if you character already has skinning, there’s an easy way to find out:
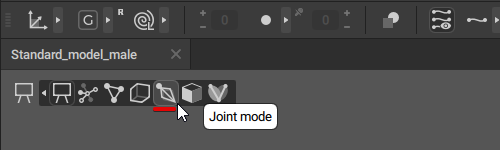
1. Switch to the Joint Mode:
2. Select one (or several) of the joints.
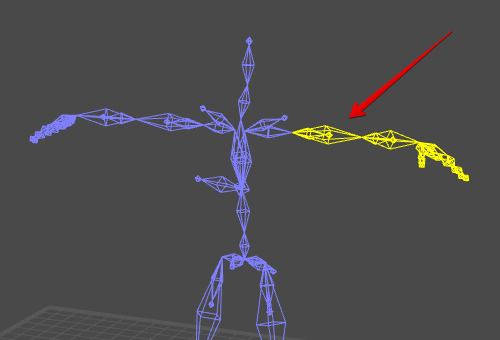
Joints you’ve selected will be colored yellow in the Viewport window.
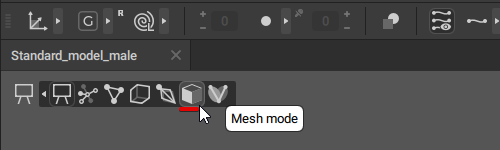
3. Go to the Mesh mode:
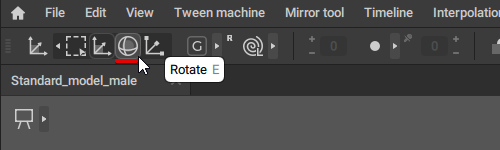
4. Select the Rotate manipulator:
5. Try to rotate the joint you’ve selected.
If the mesh moves after the joint, then it is already skinned to the skeleton.
If it doesn’t, there is either no skinning data or something has gone wrong during import.
Camera Objects
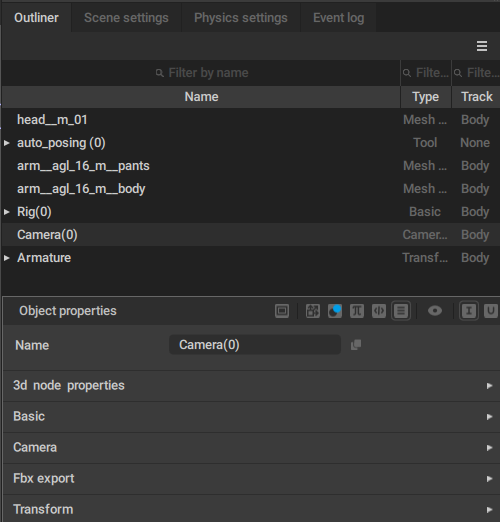
If you need to view your scene from a pre-defined angle, this can be achieved by adding a Camera object to the scene. To do this, select Camera from the Objects menu.
After you created a new Camera, select it by clicking its name in the Outliner window at the right:
Note
A camera object is only visible when it is selected.
Camera objects cannot be adjusted using general controls described above. The only way to change their positions and spatial orientation is by applying manipulators.
To see the scene through an additional camera, press the Align to Camera button in the Toolbar.
Helper Objects
This type of objects is used for improving animation, creatig physically accurate motions and such.
Available helper objects include:
- Ghosts
- Trajectories
- Angular Momentum visualizer
- Ballistic Curves
Sample Scenes
Cascadeur installation package includes several example files that you can use as templates or as means to learn about software's features. These examples are located in the .../cascadeur/scenes folder. Character models in these files are fully rigged and ready for animation.
- Backflip_animation.casc - a complex animation of a character performing a backflip. Makes use of Cascadeur's physical tools such as Ballistic Trajectory.
- Cascy.casc - a scene with the standard Cascadeur character model.
- Cascy_sabers.casc - a scene with a standard character with two sabred attached.
- Cascy_sword.casc - a scene with a standard character with a giant sword attached.
- Cube.casc - a simple scene including one cube.
- Dracorex.casc - a rigged model of a dinosaur.
- Dracorex_walk_cycle.casc - the same model performing a walking animation.
- Move_AI.casc - a sample model for Move AI.
- MVN_Puppet.casc - a sample model for the Movella motion capture solution.
- Rokoko.casc - a sample model for the Rokoko motion capture system.
- Sabertooth.casc - a model of a sabertooth cat.
- UE4_Mannequin.casc - a scene with a standard Unreal Engine 4 character.
- UE4_Mannequin_Female.casc - a scene with the same rig, but a different character model.
- UE5_Manny.casc - a scene with a standard Unreal Engine 5 character.
- UE5_Quinn.casc - a scene with another standard Unreal Engine 5 character.
- UEFN_Mannequin.casc - a scene with a model for Unreal Editor for Fortnite.
Migrating Scenes
There are some incompatibilities between the closed Beta and the current Open Beta versions of Cascadeur. These incompatibilities prevent scenes from the older version to properly work in the newer one.
So if you want to use an outdated scene, you'll need to migrate it to the new version.
See Migrating Outdated Scenes to learn how to do it.
Scenes With Multiple Character
Sometimes you might need a scene with several characters in it. For this, there is a dedicated page: Scenes With Multiple Characters.
However, do keep in mind that incresing the number of characters also increases the computation power required to properly run the scene. If your machine struggles with a complex scene, you might consider using Scene Linking Tool instead of one scene with multiple characters.