Export to Daz Studio
- Home
- Getting Started
- Export FBX/DAE
- Export to Daz Studio
Once you’ve finished animating a Daz Studio character, you’d probably want to send this character back to Daz Studio for rendering.
This can be done by following these steps:
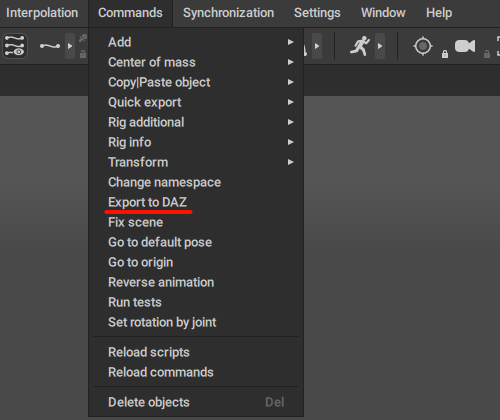
1. On the Timeline, select an interval with an animation you'd like to export.
2. Select the Export to DAZ command from the Commands menu:
3. In the appeared dialog message, click on "Export selected frames".
This command will export the joints and animation - if there is any - attached to them. The mesh(es) will be ignored.
The "Export to DAZ" command does the following things:
1. Moves ever single point controller of the character's control rig, on each selected frame, by the local position of the Hip joint in the scene's "Base Pose" - the pose that the character was using while in Rig Mode.
2. Turns off export for translation and scale channels of all body joints.
3. Turns off export for the translation, rotation, and scale channels of all face joints, as well as both Pectoral joints.
Note
The effect of the command can be replicated manually, but doing this is cumbersome and is not recommended.
Warning
If you're experiencing errors when exporting the Genesis9 characters, download the corrected "Export to DAZ" script
Then, go to the [Your Cascadeur directoty]\resources\scripts\python\commands folder and swap the existing export script with the one you've downloaded. Restart Cascadeur, if necessary.
Importing the animation back to Daz Studio
Once you have successfully exported your animated Daz character from Cascadeur, you can import the animation back to Daz studio:
1. Open an empty scene in Daz Studio
2. Import your animation using the "File -> Import..." command
3. In the Import options window, turn on the “Include Animation” setting and in the dropdown menu below select the name of the animation take
4. Save the animation as a Pose Preset using the File -> Save as… -> Pose Preset command.

5. Create a new empty scene
6. Add the character figure that you’ve previously exported from Daz Studio to the scene
7. Run the Daz script "Prepare figure for animation" by double-clicking the script file while the Daz Studio window is active
Note
This Daz script turns off the Rotation locks and Rotation limits on all joints of the character figure, ensuring that the imported animation plays exactly as it does in Cascadeur
8. Switch to the Content Library tab and find the saved Pose Preset in the “My Library -> Presets -> Poses” folder.
9. Select the figure in the Scene Outliner window, then double-click on the saved Pose Preset to apply the animation to the character figure
10. When prompted with the “Preset Exceeds Limits” message, click the “Leave limits on” button
If the “Preset Exceeds Limits” message is missing for you, check that you have the "Show the Preset Exceeds Limits dialog" setting turned on
