Rig
- Home
- Rig
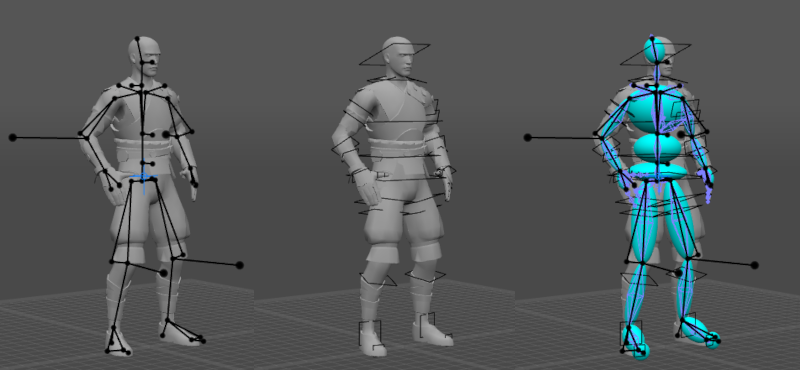
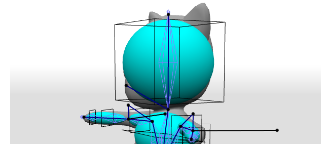
Various parts of the character rig in Cascadeur.
A rig is a set of controllers that help you move and position your characters, creating poses and subsequently, animations. Most 3D graphics software uses some form of rigs.
A rig should not be confused with the skeleton, even though these two things often work in conjunction. A skeleton is what makes the character body deform while a rig is what you use to pose the character.
(Technically, you can create animations by simply moving and rotating the joints, but this is very cumbersome and ineffective.)
Aside from setting poses and creating animations, rigs are used for other purposes. Many tools in Cascadeur - such as AutoPosing and AutoPhysics - make use of character rigs and won’t work with non-rigged characters.
To create a rig:
1. Import the model.
2. Enable Rig Mode:

3. Add rig elements for every Joint.
This stage is the most complex part of the rigging process. You need to:
– Be familiar with the structure of the Cascadeur rig and the elements that make it.
– Choose a tool for rigging, depending on the kind of character you’re planning to rig.
– Create a set of rig elements for each of the joints, and place them appropriately.
Lower on this page, you’ll find a collection of links to pages that cover all these topics.
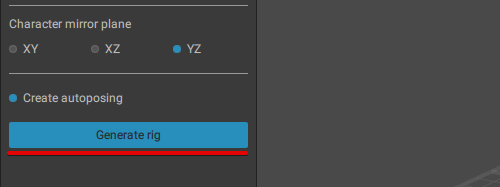
4. After this is done, you can generate the rig:
Tools for Creating Rigs |
||
 |
 |
 |
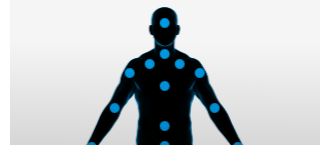
| Quick Rigging Tool Used for quickly creating humanoid rigs |
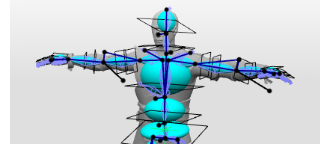
Rigging Tools A versatile tool for creating arbitrary -structured rigs. |
|
Structure of the Rig |
||
 |
 |
 |
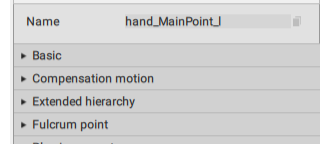
| Rig Elements | Behaviors | Elements in Rig Mode |
Advanced Rigging |
||
 |
 |
 |
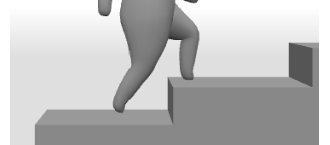
| First Steps Where to start with rigging the character. |
Advanced Techniques |
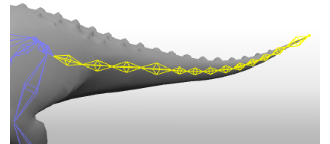
Limbs Techniques specific to working with limbs (arms, legs etc.). |
 |
 |
|
| Adding Objects How to add secondary parts to the character rig. |
Other Topics |
|
See Also