The story of making our own physics-based animation software
Cascadeur was made for creating realistic action animation in 3D. The story of its development started more than 10 years ago, when the author of the idea - Evgeniy Dyabin, tried to make a basic flip in a standard 3D software.
He spent a lot of time trying to find something like the center of mass, which he thought would be an essential feature of any animation software. For example, it is the best option for a pivot point, when you need to rotate the character in midair. It is also the point that you need to move along a parabola when animating a thrown object.
To his surprise, Evgeniy didn’t find the center of mass and it is still nowhere to be found in a standard 3D software. Let alone tools for more complex tasks, such as creating physically correct rotation, where angular velocity depends on the pose of the character.
That could be the reason why even today it’s close to impossible to make a realistic backflip in ANY regular 3D software. It turns out that animators create complex movements approximately, by hand, or with the use of motion capture, but having only a vague idea of the laws of physics. Sure, there are concepts of inertia and energy among animators, but they are used in a very abstract manner. Animators are artists and often try to stay away from formulas.
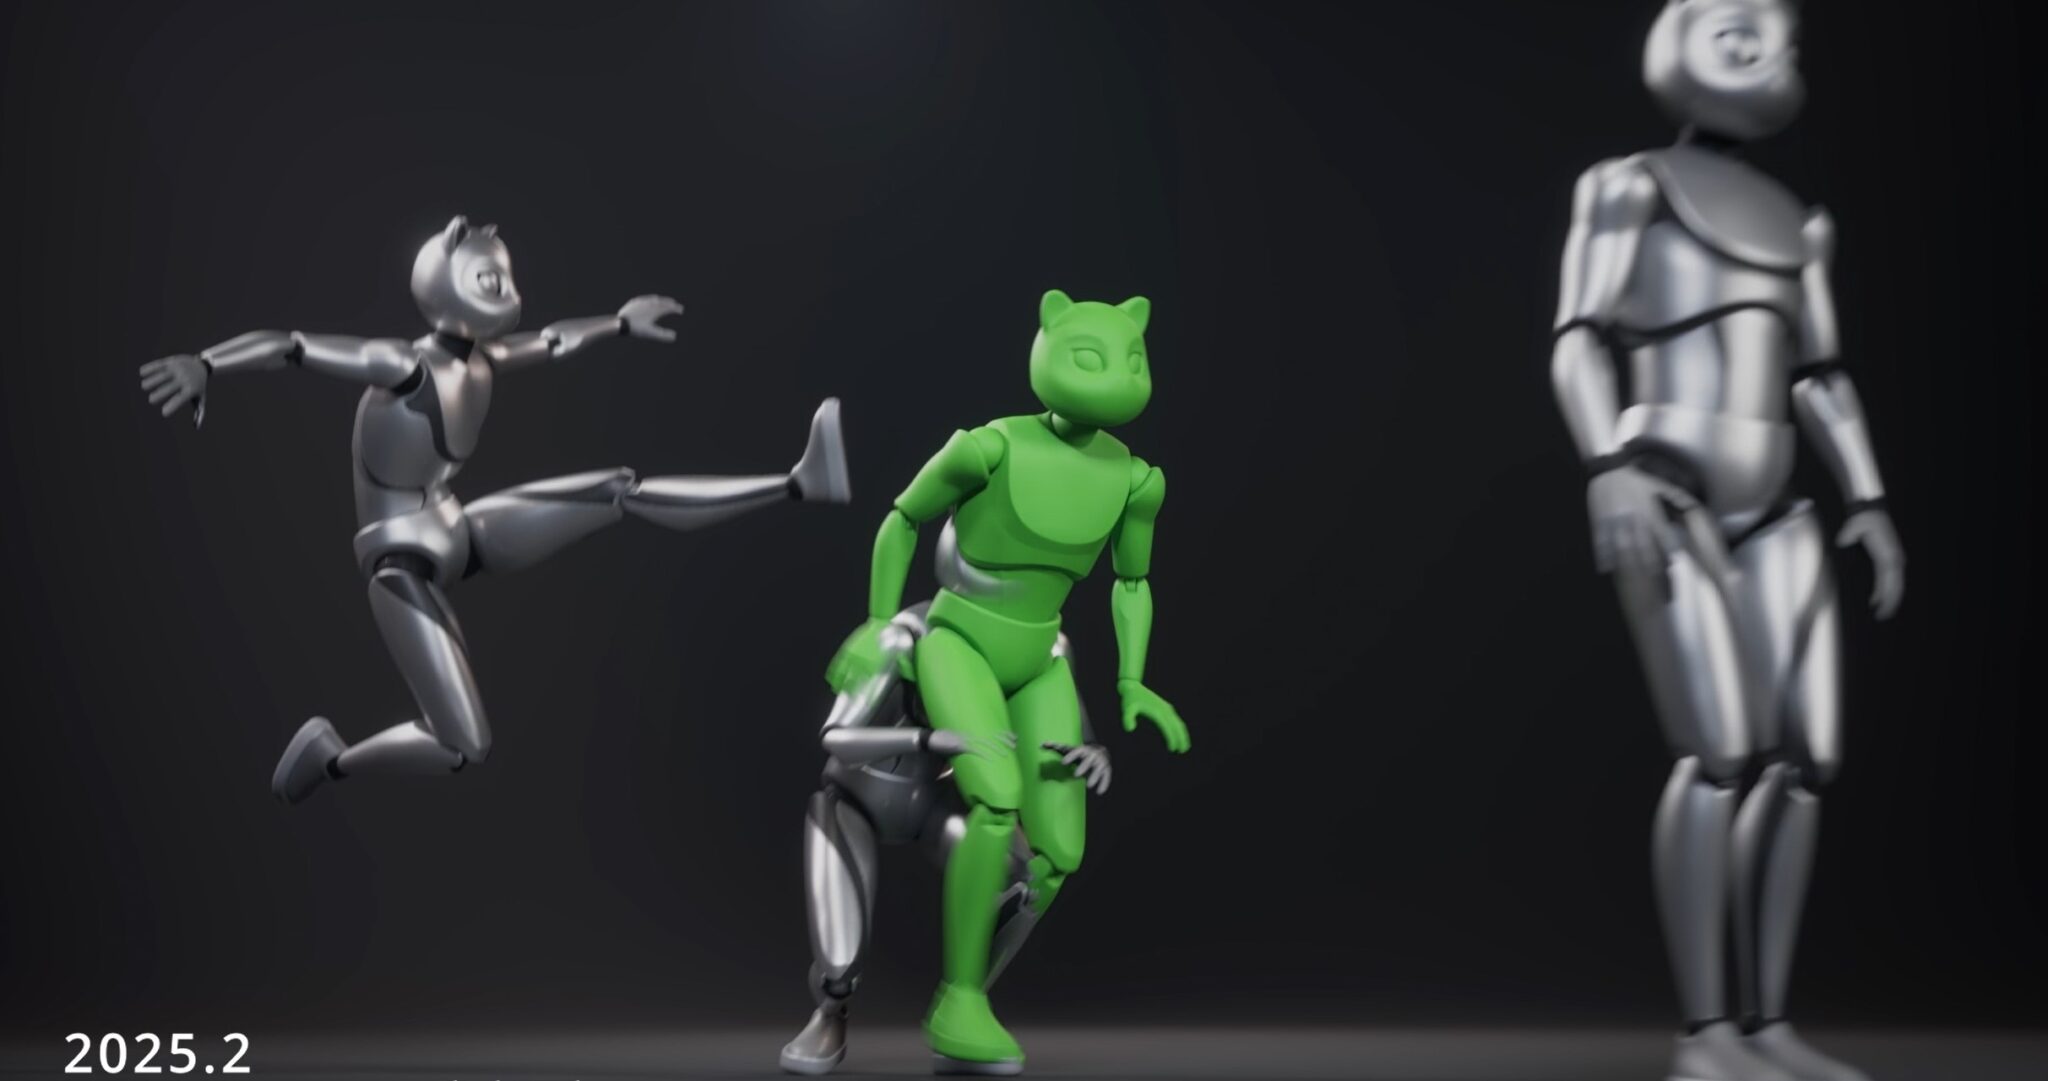
When making Cascadeur, our aim was to give animators the ability to easily create complex, but highly realistic animations like the one in our Cascadeur trailer. For our trailer, we purposefully selected an animation that would be very difficult to create even with the motion capture. And indeed, this animation was made only by keyframes using our physics-based tools.
First prototype
Unable to find the tools he needed, Evgeniy decided to create them himself for his personal use. The first prototype was very basic. The animation was done in 2D, but the editor already featured the center of mass and a ragdoll-like behavior of the character rig. There wasn't any interpolation though, so you had to manually set poses in each frame.
This editor was used to create animations for a game that was a hobby project never intended for production. But in 2009 Nekki found great inspiration in this project and decided to create a fighting game out of it. Along with the game development, the editor was rewritten from scratch to work with the 3D world that had real physics in it.
That’s when we added the classical timeline with keyframes and interpolation intervals. At the same time, the editor got an outliner, property editor and rigging functionality.
The rig of the character back then was really simple. It consisted of point particles, which were connected by edges of a fixed length and muscles. But it was enough to create unique and user-friendly behavior of the rig during posing.
There were no bones and no local coordinates at this point. Instead of a mesh, the character’s body was represented by capsules, which were based on the edges of the character.
But despite being simple, the old editor had some features that are now absent from the current program.
Simulation mode
The most vivid example is real-time simulation mode. Almost useless during the animation creation, it was very interesting to play with and good for demonstrations. This mode was simulating physics in real-time and could also “bake” the result into animation, but didn’t let us control the results.
The simulation was simple. The movement of every point was done independently, based on the
Verlet integration scheme. Verlet scheme takes into account the speed of the object from its previous positions, which is really convenient in animation. At the end of the movement, the relaxation process optimized the points positions based on the lengths of the edges until the object restored its form.
In practice, however, creating animation with this simulation mode was taking away too much control, so it wasn’t used during a real animation production. However, it later transformed into another helpful tool.
Muscles
One more thing that worked with this simulation mode and that we tested a lot were muscles. They would ensure that the character’s shape is correct during simulation, so using muscles allowed to animate poses of the character. If the key poses were set correctly, our real-time simulation mode would then predict the physically correct poses in the future frames.
Without the simulation mode, there was no practical benefit from having muscles, so finally they were removed from our rig as well.
With all this trial and error though we managed to create some essential features, which stayed in the program and formed its core.
Center of mass
The most important one, of course, was the center of mass – one of the main reasons the Cascadeur exists.
We made a special controller that always tracks the position of the center of mass, so we can see it in any pose. The center of mass can be pinned to hold its position, while other parts will remain free to compensate for any movement of the rest of the body. Another great thing about it is that by projection the center of mass lets you know if the character will be able to keep his balance.
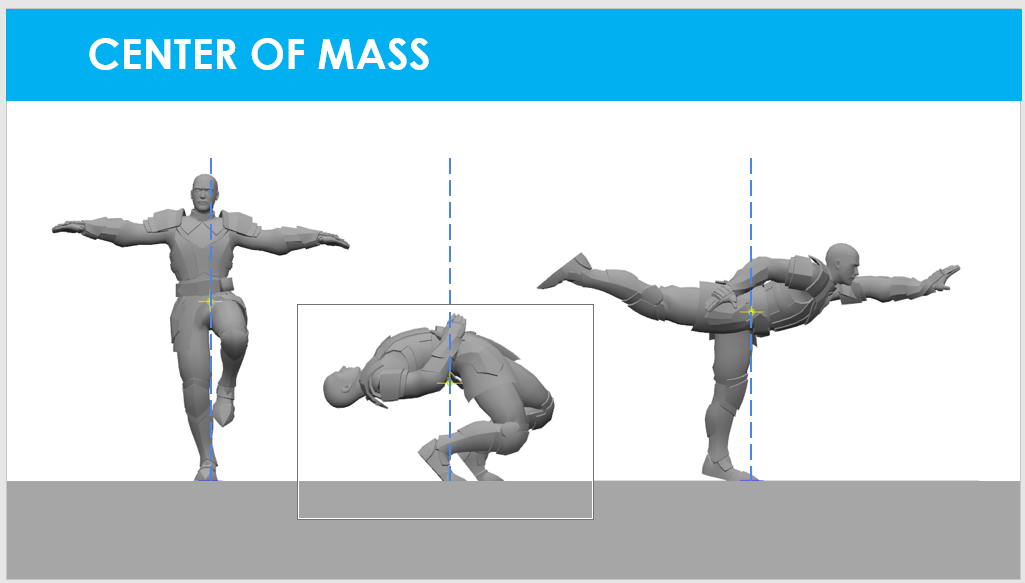
This controller is also useful during the process of creating animation, not only posing. We know that the center of mass should always move along a smooth trajectory, even when the character performs sharp strikes. This means that even if some body parts move fast, their sum, represented by the center of mass, should move smoothly.
When the body doesn’t have fulcrum points, the center of mass is only affected by gravity, so it should move along a strictly parabolic curve, without any deviations.
Angular Momentum
The next thing we visualized was the angular momentum - the value that determines the rotation of the character. You have probably noticed how an ice skater can tighten their body to rotate faster. Our visualizer helps to see and control this type of movement.
It is a vector value, so at first, we visualized angular momentum simply as a vector. But our animators struggled to understand it, so now we are showing it as an arrow moving around a circle.
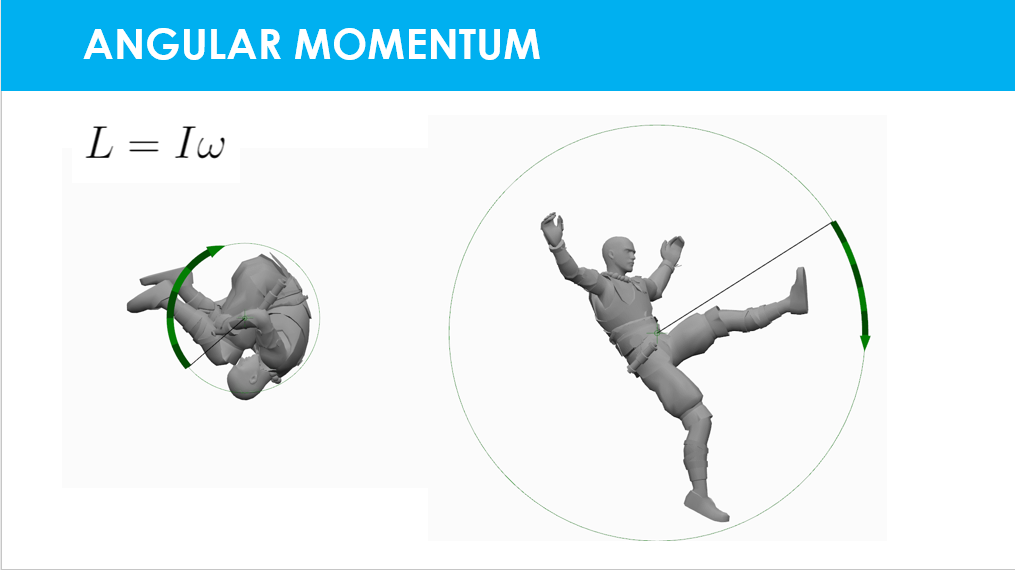
The circle’s diameter represents the moment of inertia. The more compact the character pose is, the smaller the diameter.
The arrow represents angular momentum - the energy of rotation. This arrow can move around the circle, representing the overall character rotation. To put it simply, the smaller the diameter, the faster the arrow will turn around it with the same value of angular momentum.
Just like the center of mass trajectory, angular momentum can’t change instantly. So no matter how fast some of the motions can be, on average they should only result in smooth changes of the arrow’s length. The radius of the circle, however, can change much faster.
The laws of physics also state that the angular momentum can’t change, when there are no fulcrum points. Therefore, the length of the arrow will remain the same when the object is in midair.
Later development
All these functions were used extensively to create our parkour game Vector, where realism was essential and a lot of tricks required correct physics. Later we also used the same tools to make Shadow Fight 2 – a fighting game with realistic combat moves.
We even integrated some of these tools directly into the games. For example, there was a separate system inside Vector that kept track of the center of mass and smoothed its transition between animations, while the user was playing the game.
Although animations in Vector and Shadow Fight 2 were done in 3D, the games themselves had an isometric camera and the player only saw the silhouette of the character. But our next project had a perspective camera and realistic 3D characters with textures. This meant that we had to extend the functionality of Cascadeur once again.
Meshes and skeleton
The changes we were planning to make were also bringing us closer to a version that could be used outside of our company. We wanted to use a standard approach with the character meshes instead of our previous capsules and skeleton animation that is supported in the game engines.
So we added the ability to import bones for building a physical skeleton on them. The baked animation of the bones could also be exported out of Cascadeur.
The physical model of the character evolved further. When we used a simple particle points model, we had to place a particle point at the place of the connection and provide it some mass.
Now we moved to the rigid bodies connected by joints. What’s good about the rigid bodies is that a body of any shape can be represented by an ellipsoid of inertia. All the rigid bodies with the same ellipsoid will behave absolutely the same.
The new model gave us the ability to bind body parts of the character in any convenient way, without having to change the ellipsoid of inertia, making character creation much more flexible.
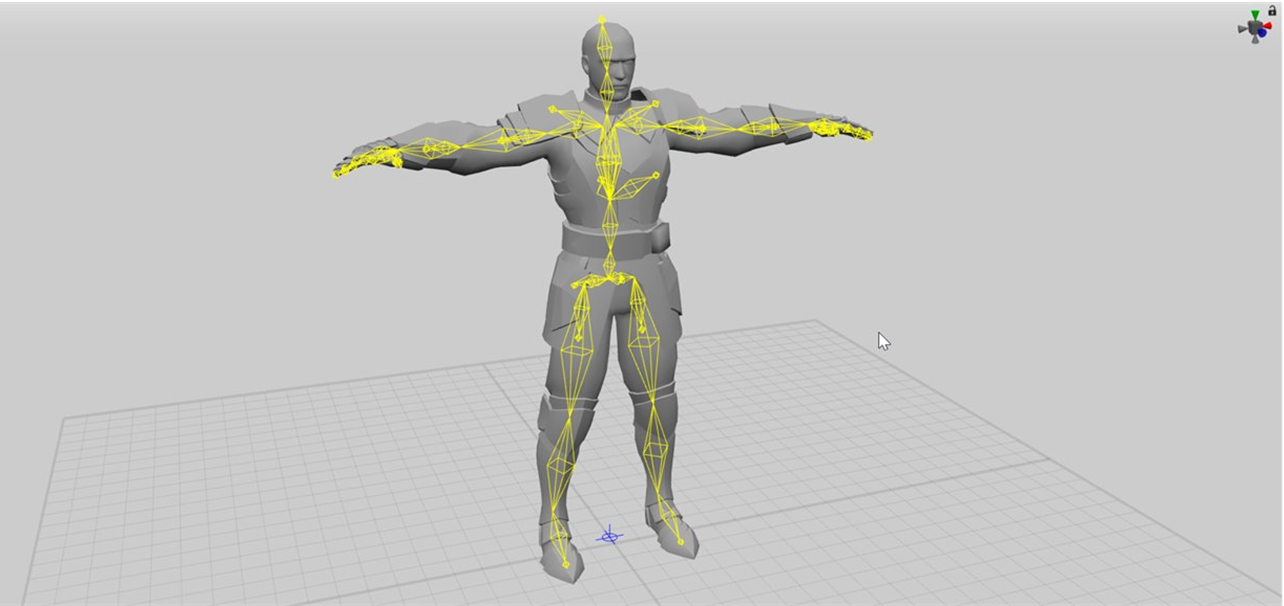
Rig
On top of the rigid bodies we have our control rig. Essentially, it is a set of point controllers designed to control the physical model and the skeleton. These point controllers recreated the behavior of particle points we had in our old rig system.
The physical model allowed us to work with both forward and inverse kinematics.
We could fix any parts of the body to prevent influence from other parts. We could rotate anything around any point, or in the middle of the hierarchy and so on.
Ballistics
Our physical tools also developed further. As we mentioned earlier, during the free flight the center of mass should move along a ballistic trajectory. From the start, we had a tool that made this trajectory into a ballistic curve.
The tool took into account the position of the center of mass in the first and the last frame of the interval, and also analyzed the interval’s length. This data was enough to calculate the ballistic curve. Then the character was moved in each frame so that its center of mass moved along the estimated ballistic curve.
Interestingly enough, our animators preferred a different way of creating the ballistic curve. Instead of using our tool they often created a separate point particle and "threw" it with the help of our forward simulation. This had several pros:
- The curve was calculated from the starting speed of the particle, which was based on the change of the particle’s position in the first two frames
- It was easier to set the desired height of the jump, since the particle and its trajectory was easier iterate, as the main animation stayed unchanged.
- The ballistic was saved as a separate entity inside the scene. You could always change the animation, but the ballistic did not break because of it.
Taking all of this into consideration, we adjusted our tool. The new version created the ballistic curve as a separate object and considered the position of the center of mass in the animation draft, but didn’t change its trajectory. You could adjust your ballistic curve by modifying the starting speed, the height of the jump, or the point of landing with a set of convenient controllers and then just snap the center of mass trajectory to it.
The tool gained popularity and received good reviews from our animators.
Rotation
The next in line was rotation, which is more complicated.
Say, we have a draft animation of a jump dive with poses in each frame keyed or interpolated. We want to make this movement both physically correct and close to the draft. So we’re solving an inverse problem – we want to find the starting angular momentum that will give us the desired result in the last frame of the flight.
Based on the information from our poses, the tool will find the right angular momentum we need. Usually, the most valuable are the first and the last frames of the jump, but we can customize that too.
This tool only deals with rotations, because there are no fulcrum points, so we can treat character’s rotation and a trajectory of the center of mass as separate entities.
Fulcrum points
When there are fulcrum points, however, it’s a different story. The fulcrum points basically bind together the center of mass, trajectory and the rotation of the character.
We created a separate tool that helps to get physically accurate results on an interval with fulcrum points. But because it operates only on the fulcrum points interval, it is limited in many ways. So we plan to unite it with some other instruments and make it work on all types of animation in the future.
Results & Plans
Using all these tools we were able to achieve great results with the animations in Shadow Fight 3. The game has a lot of complicated action moves of different fighting styles that include acrobatics, and all of them were done with Cascadeur. Altogether there are more than 800 animations in the game and it was highly praised for its visual effects.
Despite all the work that has already been done, we also have a lot of plans for the future! A totally new direction of development has emerged recently - we are now experimenting with deep learning and the results are promising.
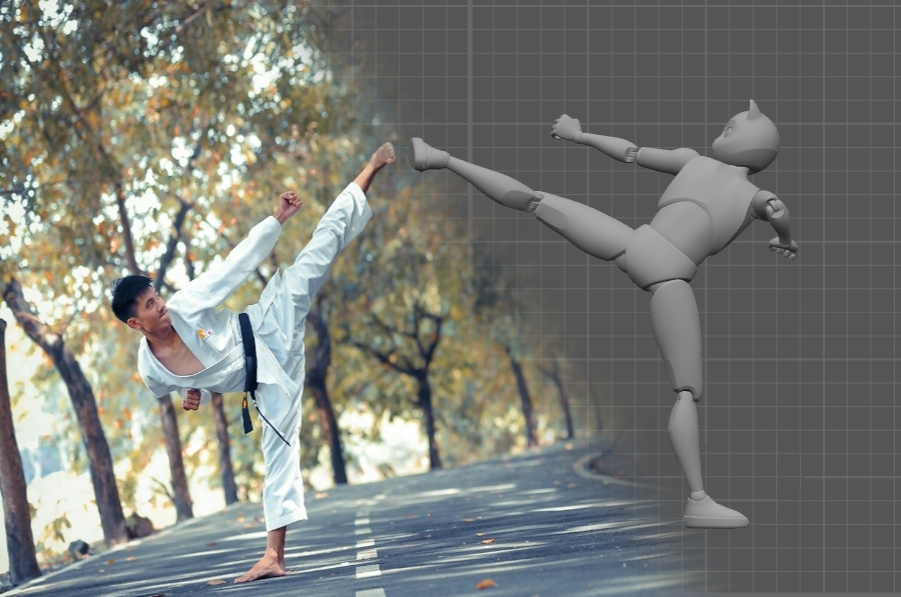
We have already released the first version of the tool that predicts the character’s pose by only 6 main points. We used more than 140 000 poses from the Shadow Fight 3 animations to train the neural network for this tool.
If we integrate this with our physics tools, they might become even smarter and more user-friendly. Right now the only way we can modify the animation is by moving or rotating the character as a whole. But with such neural networks, we will be able to change the relative positions of the body parts without breaking the poses. Having this option we will be able to find solutions that will be better and closer to the draft.
Finally, we want to address the professional animators community. Notice that we always simulate our reality: no matter how we exaggerate things, the virtual reality we create is still based on the real world. And the core of its realism is physics.
Modern computer graphics is more and more based on physics and uses its laws to achieve realistic results. But the movement of the body is still based on the Disney principles or motion captured. It is about time we provide some tools to the animator to make body motions look natural and physically correct, without forcing the animator to learn physics and maths beneath it.
We propose a name for this kind of animation – physics-based animation. And we will try to provide the tools needed for creating it. We believe physics-based animation is inevitable anyway.